LAST UPDATED: 2/11/24 – Tips for Mastering Street Photography
As travel photographers, our goal is to capture the essence of our experiences during our travels and bring those experiences to life for those who view our photographs. We are storytellers and our camera is our pen and paper. Great travel photographers won’t just make you want to visit a location when you see their photographs, they will make you feel like you already know what it is like to be there.
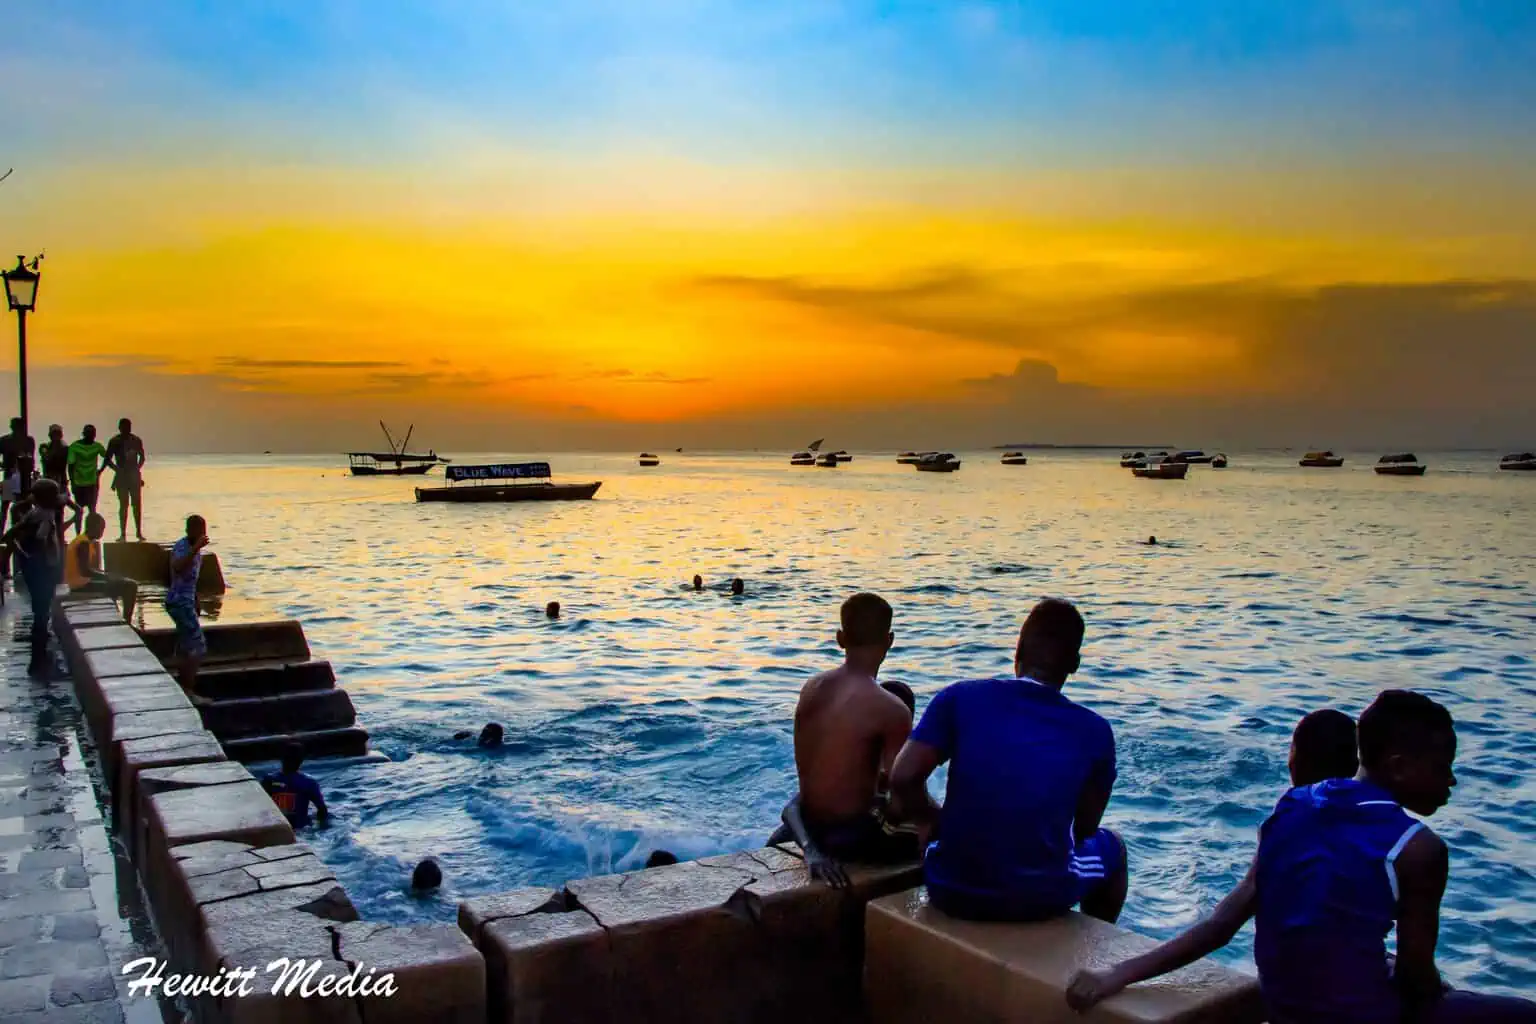
One of the most widely-used forms of photography practiced by travel photographers is undoubtedly street photography. As travelers, we spend a good deal of our time traveling throughout cities, as well as small towns and villages, interacting with other people and learning about the local culture. As visual travel storytellers, we will often photograph our interactions and experiences in these places.
Picking up a camera and taking pictures of people and scenes within the hustle-and-bustle of a city might sound easy, but getting great photographs of these experiences that really tell an authentic story can be quite difficult.
In this street photography guide, I am going to give you some of the top tips that I have picked up over the years for taking great street photography shots. If you practice these tips, you should be ahead of the game in taking street photographs that tell the authentic story of your travels.
Carry a Wide-Angle Lens

One of the top tips that I can give you if you want to get into street photography during your travels is to always, and I mean always, carry a wide-angle lens with you. A wide-angle lens is absolutely critical if you are going to capture images of street scenes and the inside of unique and interesting buildings that you visit.

For instance, take a look at the picture I took of the Freedom Tower in New York City last year. Without a proper wide-angle lens, I would not have been able to capture most of the building from where I was standing. The dotted red square indicates what my focal view would have been without a wide-angle lens.
I would have either had to move back quite a way, which wasn’t possible based on the geography, or I would have taken a less impressive shot. To assist you in finding the right wide-angle lens for your camera, I have included some guidelines below based on the type of sensor your camera uses.
| Crop Factor | Minimum Focal Length of Lens |
| Full Frame | 24-35mm |
| 1.6x | 18-22mm |
| 1.7x | 18-22mm |
| 1.84x | 16-20mm |
| 2x | 16-20mm |
| 2.7x | 15-18mm |
The Difference Between Full Frame and Crop Sensor Cameras
For those of you who are unfamiliar with the terms “full frame” and “crop sensor”, the biggest difference between cameras that have a full frame and cameras that have a crop sensor is the field of view of the cameras. For instance, a Canon 7D Mark II camera has a crop sensor that uses a 1.6x multiplier, whereas a Canon 5D Mark IV camera has a full-frame sensor that has no multiplier. This means that (at the same focal length) the field of view of the 7d Mark II camera is going to be 1.6 times closer than the field of view of the 5d Mark IV.

Shoot in Aperture Priority Mode

Another great tip that I can give you when you are taking street shots during your travel is to try and keep your camera in Aperture Priority Mode. If you are unfamiliar with what this mode is on your camera, I have included a diagram above that shows you where the Aperture Priority mode is on most Canon and Nikon cameras.
With Aperture Priority mode selected, you can specify the aperture that you want to use to take your shots and then your camera determines the best shutter speed and ISO setting to use to capture the image at that aperture. On most cameras, you can then override the suggested ISO setting if you have your ISO set to be manually selected instead of Auto ISO.
Understanding the Relationship Between Aperture and Shutter Speed
If you are unfamiliar with the concepts of aperture and shutter speed, the best way to think about it is to visualize a cup of water with a hole in the bottom. In this example, the aperture is the size of the hole in the bottom of the cup and the time it takes for the cup to drain is the shutter speed.

To take a properly exposed shot, meaning the amount of light that hits your camera’s sensor is just enough to make the image appear properly lighted, your aperture and shutter speed need to be in alignment. In our example of the cup of water with the hole in the bottom, the larger the hole the faster the cup will drain.
Wider Aperture Requires a Faster Shutter Speed
With photography, aperture, and shutter speed are equally as related. To use a wider aperture, meaning that the lens will open up wider to expose more light, we will need to use a faster shutter speed. If we don’t, our cup of water will drain too quickly, and our image will be overexposed (meaning it will be too bright). Conversely, if we use a narrow aperture and select too fast of a shutter speed, our cup of water will drain too slowly, and our image will be underexposed (or too dark).
Understand the Role of ISO
The ISO setting is the setting your camera uses to automatically compensate for lower light conditions. The higher the ISO setting, the more compensation the camera will provide for lower light. You can get away with a slower shutter speed with a smaller aperture to an extent if your ISO setting is set high enough, but I would caution against increasing your ISO too high as it can result in grainy images (in what is referred to as “noise” in photography terms).

If you look at the images above, it is clear that the image on the left is far too dark, which ruined the image. To properly expose this shot, I had to increase my aperture and bump up my ISO setting to get a properly exposed image. As you can see by the image on the right, it looks far better than the one on the left. This is how important using the right aperture, shutter speed, and ISO setting for your photographs can be.
My Recommendations
When shooting street photography, I would use an aperture of f/16 in daylight and a larger aperture during the early morning and evening hours. I would make sure your ISO setting is set at no higher than 400 or you run the risk of having too much noise in your image.
After setting your aperture, take a few test shots and see what shutter speed your camera recommends. If your shutter speed is below 1/80 with the aperture set at f/16, you will want to either increase your aperture or bump up your ISO. If you don’t, it could result in what is called motion blur.
Motion blur is the visible movement of objects in your images that is the result of the shutter speed being too slow for the aperture and ISO settings that you are using. If you take a look at the picture I took in Playa del Carmen, Mexico below, you will notice the motion blur on some of the people walking through the streets. For this image, I should have either increased my aperture or my ISO to prevent the motion blur from ruining my shot.

Keep Your Camera Out

If you are going to get serious about street photography when you travel, it is also vitally important that you keep your camera out at all times while you travel. If we knew when all of the moments we wanted to photograph were going to happen, this wouldn’t be an issue. However, the nature of travel is that it is unpredictable. This is why so many of us absolutely love to travel.
If you don’t have your camera out and ready to shoot, you might miss the one or two really great moments that you wish you would have photographed. When I first started traveling, I used to put my camera in my backpack as we walked through the streets of a city. I would only take it out when I got to a destination I knew that I wanted to photograph. After missing several potentially great shots, I learned to have my camera out and ready at all times as I travel.
Don’t Forget to Shoot at Night

A lot of people I talk to who are just getting into travel photography have told me that they are a little bit intimidated by shooting pictures at night. If you are just starting out with travel photography, it is completely understandable to be a little intimidated. When starting out, most of us have tried our hand at shooting at night and have quickly realized how much there is to learn about photography.
When it comes to street photography, it’s no different. Now, you might have the advantage of having some unnatural lighting sources in your shots to help overcome some of the challenges of shooting in low light, but those light sources rarely offer enough light to completely overcome these challenges on their own. Instead, as photographers, we must use our knowledge to adapt to low-light conditions.
If you haven’t read my photography guide on how to shoot in low-light situations, I would highly recommend that you give it a read. I have included a lot of really great tips that I have picked up over the years on how to get the best pictures in low-light situations. All of these tips are relevant to street photography, where getting enough details in your pictures can be the difference between the shot of a lifetime and just another ho-hum photograph.
| READ MORE: |
 |
| Tips for Taking Pictures in Low Light |
Get Close to Your Subjects

Another recommendation I can give you that will greatly enhance your street photography is to always get close to your subjects when you are shooting. If you are using a prime (or fixed focal length) lens, this will mean that you will literally need to get up close to your subjects. However, if you are using a zoom lens (where the focal length is adjustable), this means that you should zoom in as much as you can when taking your shots.
One of my favorite portraits that I have seen is one of the old man above. Because the composition of the picture just includes his face, which was accomplished by getting in close to the man, you can see all of the details on his face.
You can see the wrinkles on his forehead, the grey hairs in his beard, and the details on the scarf he wears around his neck. All of these details help to paint the portrait of this man’s life and tell a story about him that the viewers of the picture pick up on. If this shot were taken from further back or zoomed out more, you might not pick up on those details as much.
Other Street Portrait Tips
If you are interested in taking street portraits during your travels, I have included a list of some other tips for portraits below for you to review. If you focus on these tips when shooting your shots, along with getting close to your subjects, you should greatly improve your street portraits.
- Keep it simple. Less is more when it comes to street portraits.
- Focus on the eyes. If the eyes are not in focus, the shot will be ruined.
- Don’t stage your shots. Authenticity is critical.
- Be patient, otherwise, you might miss the best shots.
- Use creative backgrounds. If necessary, find it first and then wait for a subject.
Remember to Ask for Permission

I have mentioned this before in my postings on travel photography, but it is important enough to point it out to you again here. When you are taking pictures of people, it is always important to ask their permission before taking their pictures. This isn’t only the kind and courteous thing to do, depending on the local culture and laws, it also might be the only legal thing to do.
This doesn’t mean you need to get permission from every person in a crowded street you are photographing, but if you would like to take someone’s portrait it would be wise and respectful to ask them for their permission first. If you would like to be extra safe, I would also suggest asking them to sign a photo release form. If you don’t have one handy, please feel free to download and use my photo release form.
Tell a Story with Your Photos

Arguably the most important tip that I can give you to make your street photography more moving and meaningful is to be authentic with the photographs you take. Your photographs should tell a story about your travels or the lives of the people that you photograph. If you stage your photographs, they won’t look as authentic or tell the story that you want them to tell.
There is a very big difference between asking for permission to take someone’s photograph and orchestrating shots that you take of them. I will often approach people that I would like to photograph and ask them if I can take some pictures, but I won’t tell them what to do. I will just observe them doing what they are doing and take pictures as they work, play, or continue with their daily lives.

The shot I took of this little girl helping her mother in the market in Cusco, Peru is one of my favorite travel shots that I have taken. I asked the mother for permission to take some photographs but never instructed the little girl on what to do. This picture of her leaning up against their wheelbarrow full of goods to sell reminds me so much of this trip and is something I will always treasure.
Remember to Slow Down

Something that people tend to forget when they first start getting into street photography is that it is better if you slow down. The tendency that people have when they first start getting into street photography is to rush around from place to place taking shots because they don’t want to miss anything. I know I was that way when I first started.
The problem with this is that you end up doing exactly what you were trying to avoid, which is to miss things. If you slow down, take your time to observe your surroundings, and take in the experience of traveling, you will end up catching more of those moments that you really want to photograph. Have your camera ready, but don’t spend your entire trip looking through the viewfinder of your camera. Trust me, not only will you get more quality shots, but you will have a more quality travel experience.
Experiment with Long Exposures

One of the really great techniques that really works well with street photography on some occasions, but is often overlooked by travel photographers, is the long exposure. A long exposure is a shot that uses an intentionally long shutter speed to produce movement in your images. If you recall my previous explanation of shutter speed and aperture and avoiding what is called “motion blur”, with long exposures you are intentionally creating motion blur in your images.
If you look at the images above, this is a really outstanding use of a long exposure to really add character to an image. In this shot, the shutter speed was reduced to the point where the cars on the road were no longer visible. Instead, we see a stream of light from the headlights of the cars that create a path of light along the road.
Long exposures can also be used with moving water elements like streams, ocean waves, and fountains to make the streams of moving water look smoother. This has a really cool effect that can be far more visually appealing than a shot of just the water element at the proper exposure. If you look at the example below, the moving water in the stream is smoothed out because of the long exposure, which gives the shot a really cool effect.

Shoot From the Hip if Need Be

The final tip for street photography that I have for you is to never feel like you are constrained to only taking shots you can view through your viewfinder. During your travels and explorations, there will be times when you just aren’t able to set up and frame your shot through your viewfinder. Perhaps you are standing in a precarious position, or you aren’t able to set up in time to frame your shot through your viewfinder.
This shouldn’t prevent you from taking some really great photographs. Sometimes you just have to take a shot without framing it the way you typically would. For instance, in the shot I took above of the Roman aqueduct in Segovia, Spain, I was standing in a position that didn’t allow me to safely look through my camera to take a shot.
I had to use my other hand to safely keep myself from falling. I was still able to capture this great shot by shooting from my hip, so to speak. This is a great example of framing a shot without actually having to look through the viewfinder to do it.
Don’t Forget to Subscribe to My Adventures!

Let Me Help You Save On Your Next Adventure!
‘Start Exploring Today’ Merchandise Available Now!
 |
 |
 |
 |
 |
 |
 |


I’m not a professional photographer but I still find this useful. Thanks for sharing your secrets Josh. Your pictures are always great.
Thank you so much for the kind words!! This means a lot!! 😀👍
I am really so impressed by your photography skills. Great work Josh
Thank you so much for the kind words Robert!! 😀
You are welcome