LAST UPDATED – 2/12/24 – New Zealand Photography Guide
This New Zealand Photography Guide contains references to products on my Amazon Store site. I may receive a commission when you purchase these products from my store, though at no additional cost to you. I hand-pick and recommend only the products that I am either familiar with or comfortable recommending.
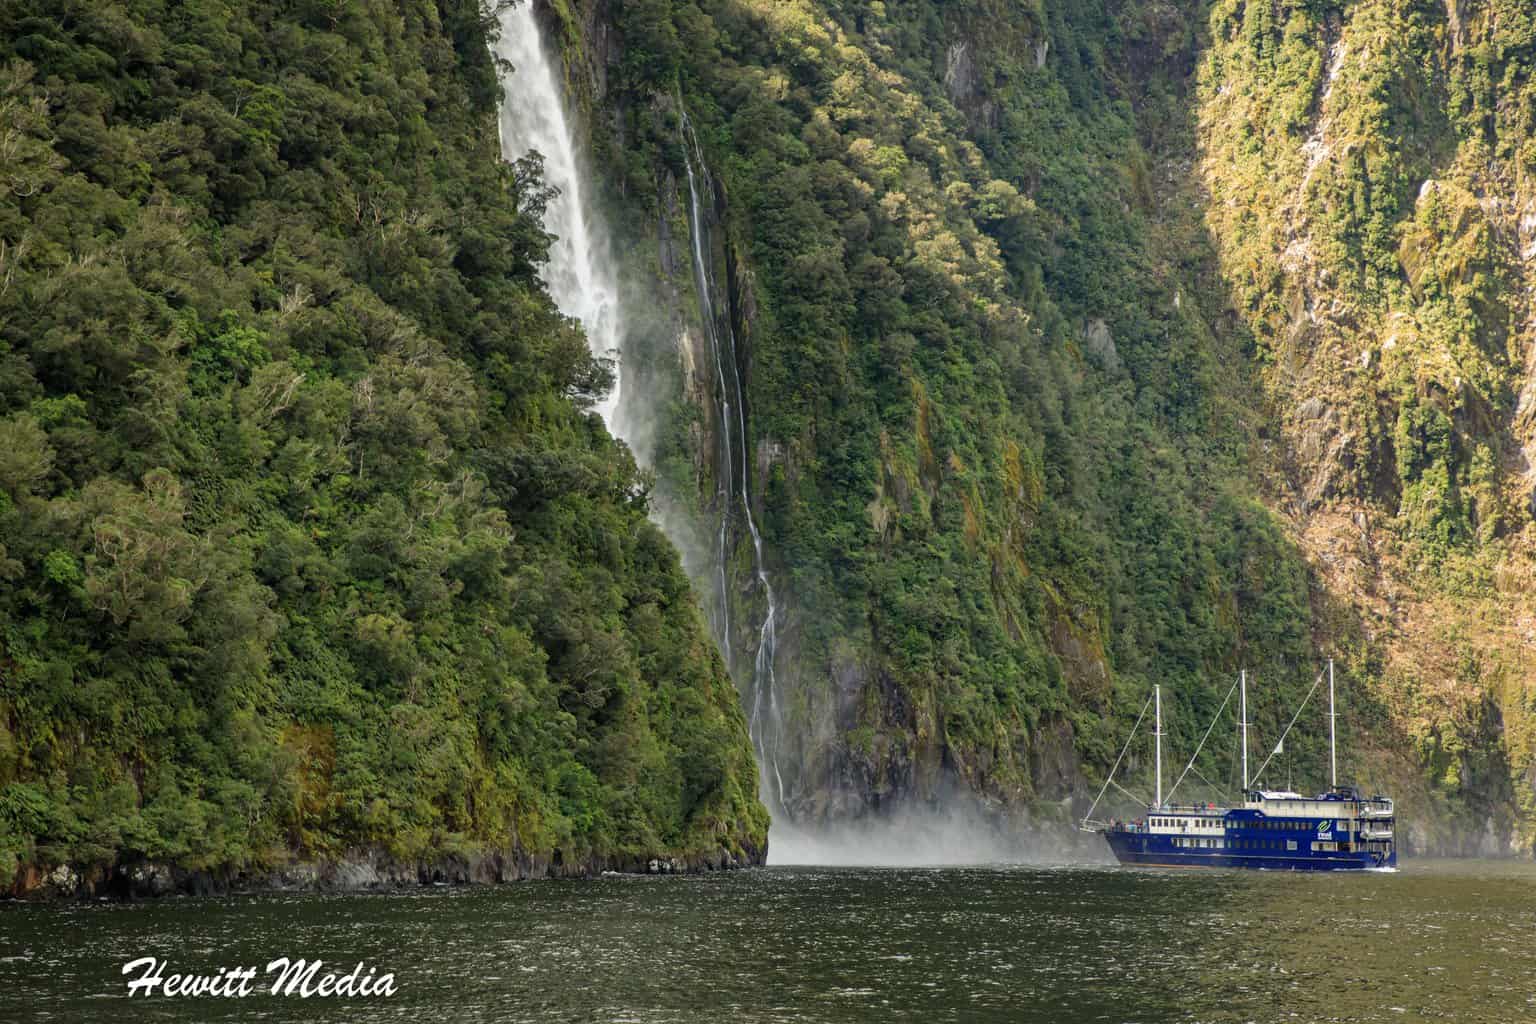
There is a good reason why famed movie director Peter Jackson picked numerous locations in New Zealand to film his iconic Lord of the Rings trilogy. There are few places in this world with as many breathtaking landscapes waiting to be photographed as you will find in New Zealand. From majestic glaciers to the towering mountaintops of the Southern Alps to Milford Sound and the breathtaking fjords and sounds of Fjordland National Park, New Zealand is a playground for travel photographers. From the moment you land to the moment you depart, you will not want to put your camera down.

In this New Zealand photography guide, I am going to give you some tried-and-true tips that will help you maximize the quality of the photographs that you take while visiting New Zealand. I will give you some tips on what equipment to bring, along with some general and specific technique tips that will help you take more eye-popping pictures.
In short, I hope this article gives you the inspiration and confidence to go out and capture images that will not only blow the minds of your family and friends with their beauty but will be photographs that you look back on with fondness for the rest of your life.
New Zealand Photography Guide Navigation Menu

What Equipment to Bring

Before you leave for your trip to New Zealand, make sure you have the right camera gear with you to be successful. Having the right gear can mean the difference between great photographs and poor ones. More importantly, it can be the difference between coming home with all of your equipment in working condition or having equipment issues. To help you pack your camera gear for this trip, I have included a list of essential gear for you to review below.
This New Zealand photography guide contains references to products on my Amazon Store site. I may receive a commission when you purchase these products from my store, though at no additional cost to you. I hand-pick and recommend only the products that I am either familiar with or comfortable recommending.
Digital Camera
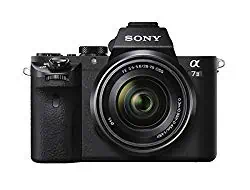 |
You will want to balance quality versus weight here. I would suggest bringing your DSLR if you have one because of the quality of shots that they take, but if you have a mirrorless camera that is probably ideal because they are much lighter and take high-quality shots. Also, if you have the option between bringing a full-frame or crop-sensor camera, I would definitely bring the full-frame. New Zealand is known for its iconic landscapes and you will want a full-frame to take advantage (more on this later). |
| View My Recommendations on Amazon | |
Wide Angle Lens
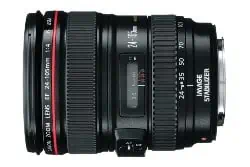 |
A wide-angle lens is critical for capturing wide shots in close quarters that you will want to take at places like Milford Sound and the Central Otago wine valley. While a telephoto lens is also handy for photography wales or other wildlife if you get out on the water, a wide-angle lens will be far more valuable to you on this trip. More than anything else, New Zealand is known for its amazing landscapes, and a wide-angle lens is a landscape photographer’s best friend. |
| View My Recommendations on Amazon | |
Extra Batteries
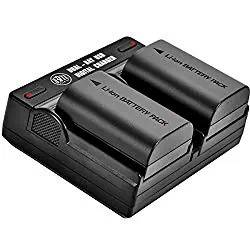 |
When you are in New Zealand, you will want to make sure that you have plenty of backup batteries with you. This is especially true if you will be hiking in the higher elevations or visiting in the colder months of winter, early spring, or late autumn. Batteries drain faster in cold temperatures than they do in warm temperatures, so you will go thru batteries much faster than you might think. I like to have at least 3-4 extra batteries with me when I travel and if I know that I will be spending a lot of time in the backcountry, I will typically bring twice that amount. |
| View My Recommendations on Amazon | |
Lens Hood
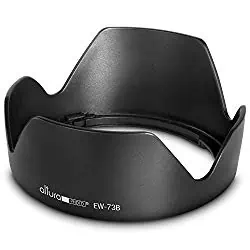 |
New Zealand is one of the world’s top outdoor adventure locations, which is why most of the photography that you will be doing in New Zealand will be outside. Because you are outdoors, there will be occasions where you need to shield your photographs from glare from the sun or off of icy surfaces. This is where a good lens hood for your lenses really comes in handy. I would definitely recommend bringing a lens hood for each of the lenses you plan to bring to New Zealand. |
| View My Recommendations on Amazon | |
Lightweight Tripod
 |
As I will discuss later in this guide, one of the best ways to enhance your photographs while in New Zealand is to take advantage of the excellent light around sunrise and sunset. To do this you will need to have a sturdy tripod to prevent motion blur during the long exposure times required with the lower light levels. However, you won’t want to bring a heavy tripod because you will need to lug it around with you on all the hikes and excursions that you do. For this reason, I recommend you bring the lightest and most compact tripod that you can find. |
| View My Recommendations on Amazon | |
Camera Backpack
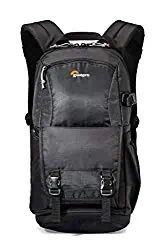 |
You are going to want to have a bag to carry your camera equipment when you visit New Zealand. This will help protect your gear when you aren’t using it. If possible, I would look for a bag that has a weather-proof cover that will protect the bag and your gear from wet weather. I recommend the Lowepro Fastpack BP 150 AW II – A Travel-Ready Backpack. It is small enough to not be a burden when you are hiking and on excursions, very lightweight, and is well designed to maximize storage space. Best of all, it has a built-in weatherproof cover. |
| View My Recommendations on Amazon | |
Polarizing Filter
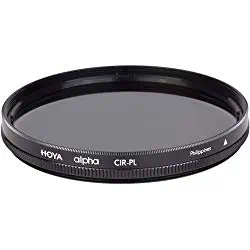 |
Having a polarizing filter on your lens will be extremely helpful when shooting landscape shots in New Zealand. The polarizing filter will help reduce reflection and will bring out the deepness of the sky color in your shots. When I was in New Zealand, I left my polarizing filter on my wide-angle lens the entire time. |
| View My Recommendations on Amazon | |
Waterproof Cover
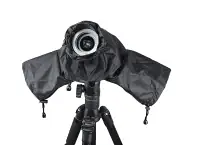 |
If it rains during your visit to New Zealand, which is bound to happen at some point, you are going to want to have something to protect your camera from the rain when you take it out of your bag to get some shots. The best way to protect your camera in the rain is to get a rain cover. These covers come in both the disposable and the reusable variety, which gives you options depending on what your budget is. |
| View My Recommendations on Amazon | |
Dry Bag
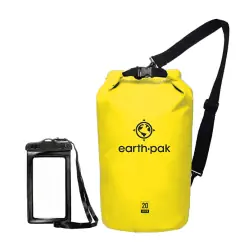 |
When visiting New Zealand, chances are that you will be out on the water at some point. Whether it is on a tour of Milford Sound or out in a kayak on Lake Wanaka, you will want to make sure your camera gear is protected. While a backpack with a weather-proof cover is a good start, it isn’t completely waterproof. That’s why I always bring a dry bag with me when I visit any location that has the potential to be very wet. |
| View My Recommendations on Amazon | |
Optional Equipment
Any additional equipment that you bring will need to fit inside your bag and you will have to carry its weight around with you while you visit, so make sure you choose your gear wisely. I have included some optional pieces of gear you might want to consider bringing with you in my New Zealand photography guide below.
- Zoom lens (200-300mm maximum focal length). A wide-angle lens will be far more valuable in New Zealand, but you may want to photograph wildlife or other subjects that require more reach.
- Battery Grip. Having a battery grip will allow you to go longer without having to change batteries (as most hold two at a time), and they also make taking portrait shots much easier because of the more convenient shutter button location.
Using Drones in New Zealand

Before you pack up your drone to take with you to New Zealand, you should be aware of the rules and laws that govern drone use in New Zealand. Not only is a failure to comply with the rules dangerous, but it can result in a hefty fine or other penalties. For instance, among other things, there are rules and regulations both at the national level and with local municipalities that govern the following aspects of drone use in New Zealand:
- Use above private property.
- Use over public lands (including the national parks).
- Night flying.
- Use near Airports and Airfields.
- Flying over people.
If you are thinking about bringing a drone with you to New Zealand and would like to learn more about the rules for drone use, I would recommend checking out the Airshare.co.nz FAQ Site for more information.
New Zealand Photography Tips

Now that I have covered what gear to bring and how to prepare for drone use in New Zealand in my New Zealand photography guide, I would like to discuss some photography tips that will help you capture the best images possible during your visit. Some of these tips are general photography tips that apply to landscape photography anywhere and some are more specific to New Zealand.
Take Advantage of the Golden Hours

One of the best tips that I can give you for shooting landscape photography anywhere, and not just in New Zealand, is to maximize the time spent taking pictures during the Golden Hours of the day. In case you aren’t familiar with the Golden Hours, they refer to the hour after sunrise and the hour before sunset.
During these times of day, the light is much softer than it is during the daytime and is ideal for taking high-quality photographs. Light is by far the most important factor to consider when taking pictures and the best light of the day is almost always found during the Golden Hours.
Bring a Full Frame Camera if Possible

If there are any tips you remember from my New Zealand photography guide, I would suggest you remember this one. Because the vast majority of the photography that you are likely to shoot while in New Zealand is landscape photography, I would strongly recommend bringing a full-frame camera with you if you have access to one.
Not only will a full-frame camera allow you to shoot more of the landscape you see (as illustrated above), but full-frame cameras also allow more light into their sensors than cameras with crop sensors and thus are typically better in low light photography. This means that the photographs that you take at sunrise and sunset will have much more detail in the shadows than you would get with a camera with a crop sensor.
Use Your Tripod in Low Light Situations

If you are going to be taking sunrise and sunset shots like I recommend, then you are also going to want to make sure that you have a steady tripod with you during this trip. A steady tripod will help you capture quality pictures by keeping the camera still and eliminating camera shake during the longer exposures required at low light.
As I mentioned in the recommended gear section of my New Zealand photography guide above, I would also make sure that the tripod you bring is lightweight. You will likely be spending a good deal of time hiking, kayaking, and doing other outdoor activities during your trip, so you don’t want to be lugging a heavy tripod around with you.
Bring Extra Batteries

Something that many travel photographers are not aware of is the fact that batteries tend to drain faster in colder temperatures. A battery that might last a full day’s worth of photo shooting in warm temperatures may only last a few hours in the cold. For this reason, it is important to always bring spare batteries with you when you are traveling in a cold-weather climate.
I will typically bring 3-4 extra batteries with me when I travel. If I am planning on spending a lot of time in remote locations away from a power source to charge my batteries, such as hiking the Milford Track, I will usually bring twice that amount.
Use Leading Lines in Your Compositions

Many of the tips that I cover in my New Zealand photography guide are technical, but there are also some artistic tips that I can give you. A great way to make the composition of your photographs more interesting is to try and use lines in the subject of your photographs to direct the attention of your viewers.
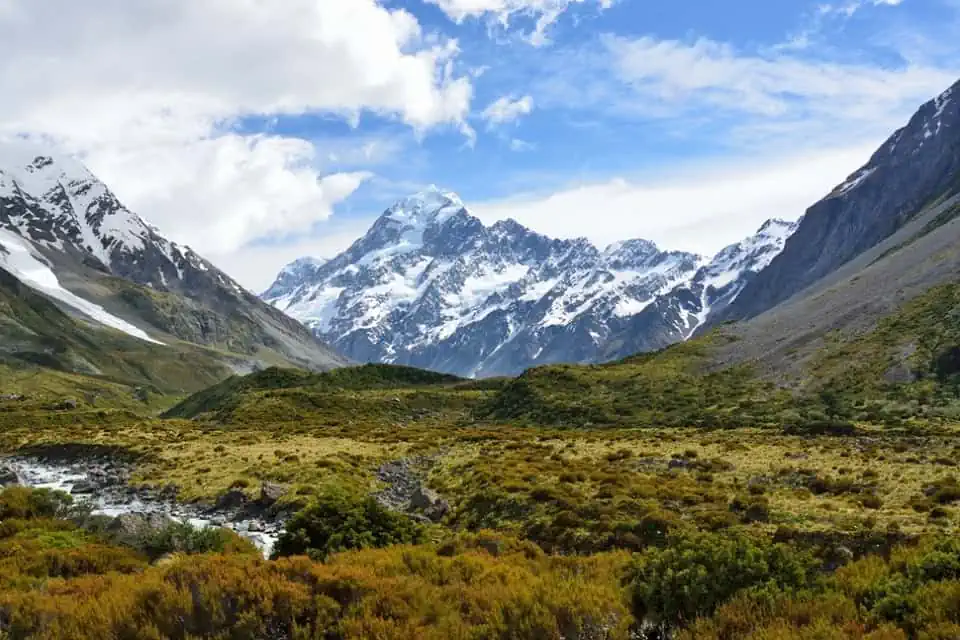
For instance, in the photo of the road to Mount Cook National Park above, the viewer’s eyes are moved from the foreground of the photograph to the mountains in the background by the road heading off into the distance. There are a lot of ways in which you can use leading lines in your photographs in New Zealand. Roads, Trails, a glacial crevice, a row of grapevines at a vineyard, or any other line can be used to enhance the composition of your photos.
Research Locations Before You Visit

A great way to maximize the quality of pictures that you take in New Zealand is to do a little research on the locations you will be visiting before you travel. This will help you determine which places you are most interested in photographing so that you can spend your time in these areas.
It will also help you determine what type of equipment you will need, what type of elements you can expect, and what time of day it would be best to visit. To give you a head start on your photo prep for New Zealand, I have included links to some of my photo prep guides for New Zealand’s South Island in my New Zealand photography guide below for you to review.
| READ MORE: |
 |
| Lake Tekapo Photography Prep |
| READ MORE: |
 |
| Mount Cook National Park Photography Prep |
| READ MORE: |
 |
| Queenstown Photography Prep |
| READ MORE: |
 |
| Te Anau and Milford Sound Photography Prep |
| READ MORE: |
 |
| Wanaka Photography Prep |
| READ MORE: |
 |
| Fox and Franz Josef Glacier Photography Prep |
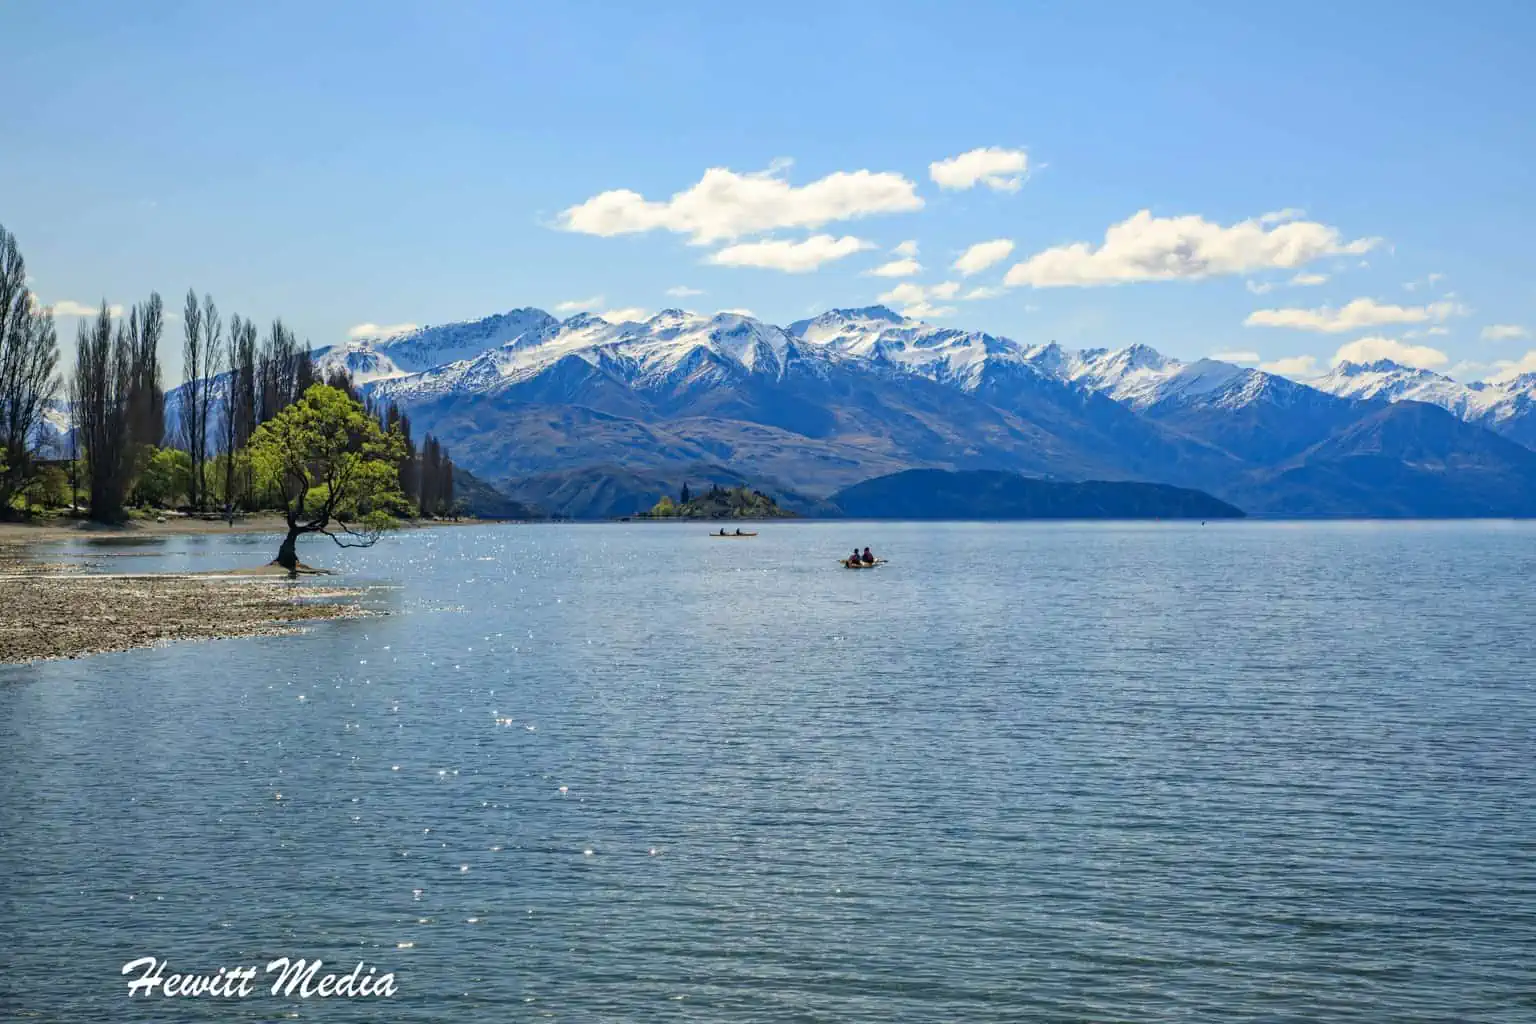
Use the Rule of Thirds

Another great way to enhance the composition of your photographs is to follow what is known as the Rule of Thirds. According to this classic photography rule, your photographs will be more visually appealing to those who view them if you compose your photographs to include the main subject matter of the pictures within the outer thirds of the shots. For instance, in the photograph above I have made sure to position the famous Wanaka Tree in the right third of the frame.
The idea is that this is more visually appealing than it would have been to put the tree in the center of the frame. When composing images, you can break your camera frame into thirds either vertically or horizontally, depending on what you are photographing. This is one of the easiest tips to implement in my New Zealand photography guide, but it can make a huge difference in enhancing your photographs
Use a Foreground in Your Landscape Shots

One of my favorite ways to enhance a landscape photograph is to try and include some interesting subject matter in the foreground of the image. You don’t want the subject matter to be too distracting to the point where it completely takes the focus away from the landscape, but you want it to be interesting enough that it adds to the composition of your photo.
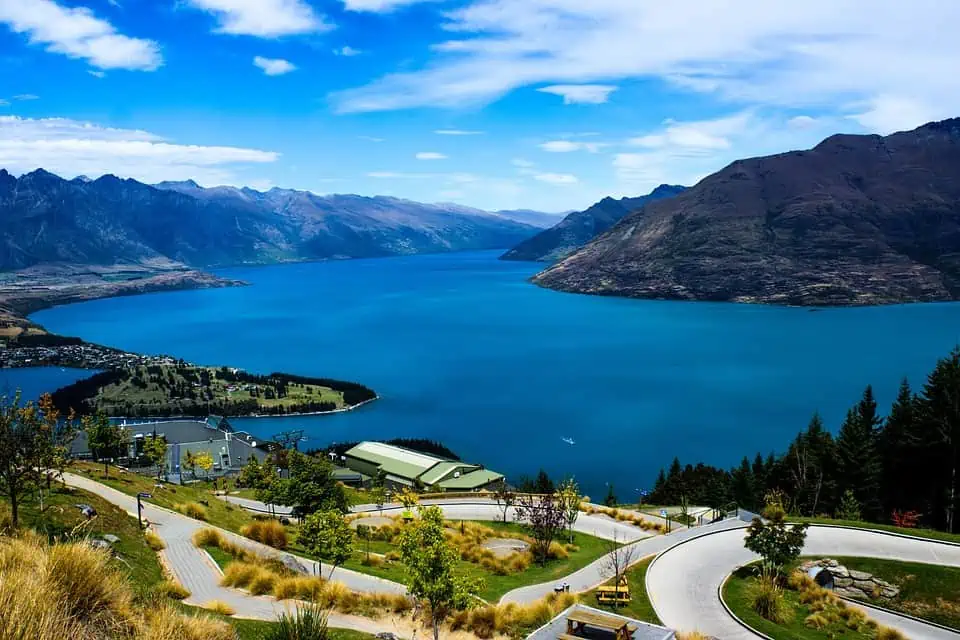
For instance, in the picture of Queenstown in my New Zealand photography guide above, I have included part of the Skyline Restaurant in my picture of the city below. The building, which is elevated and perched on the hillside, is a beautiful structure that adds a neat component to this photo of Queenstown.
Use the Correct White Balance

One of the most often overlooked aspects of photography that is missed by travel photographers who are just beginning is the white balance of the images. Simply put, the white balance of an image is the temperature of the image. When you set the white balance on your digital camera, you typically choose from several different preset options. These options can include Sun, Cloudy, Shade, Fluorescent, etc…. The key is to match the white balance setting on your camera with the conditions you are shooting in. This will make the photographs you take look more natural.
For instance, if you look at the two pictures taken in Milford Sound above, the image on the left was taken with the proper white balance setting while the image on the right was not. Because it was taken with the incorrect white balance setting, the image on the right looks really cold and unappealing. If you forget to set the white balance to the correct setting as you are taking pictures, most post-processing photography software such as Adobe Lightroom allows you to adjust the white balance after the fact.
Be Creative With Your Compositions

The final photography tip that I have for you in my New Zealand photography guide is to always try and be creative with your compositions. Creative compositions can spark the viewer’s imagination far more than any other photography technique, tip, or trick can. More than anything else, try and tell a story with your photographs.
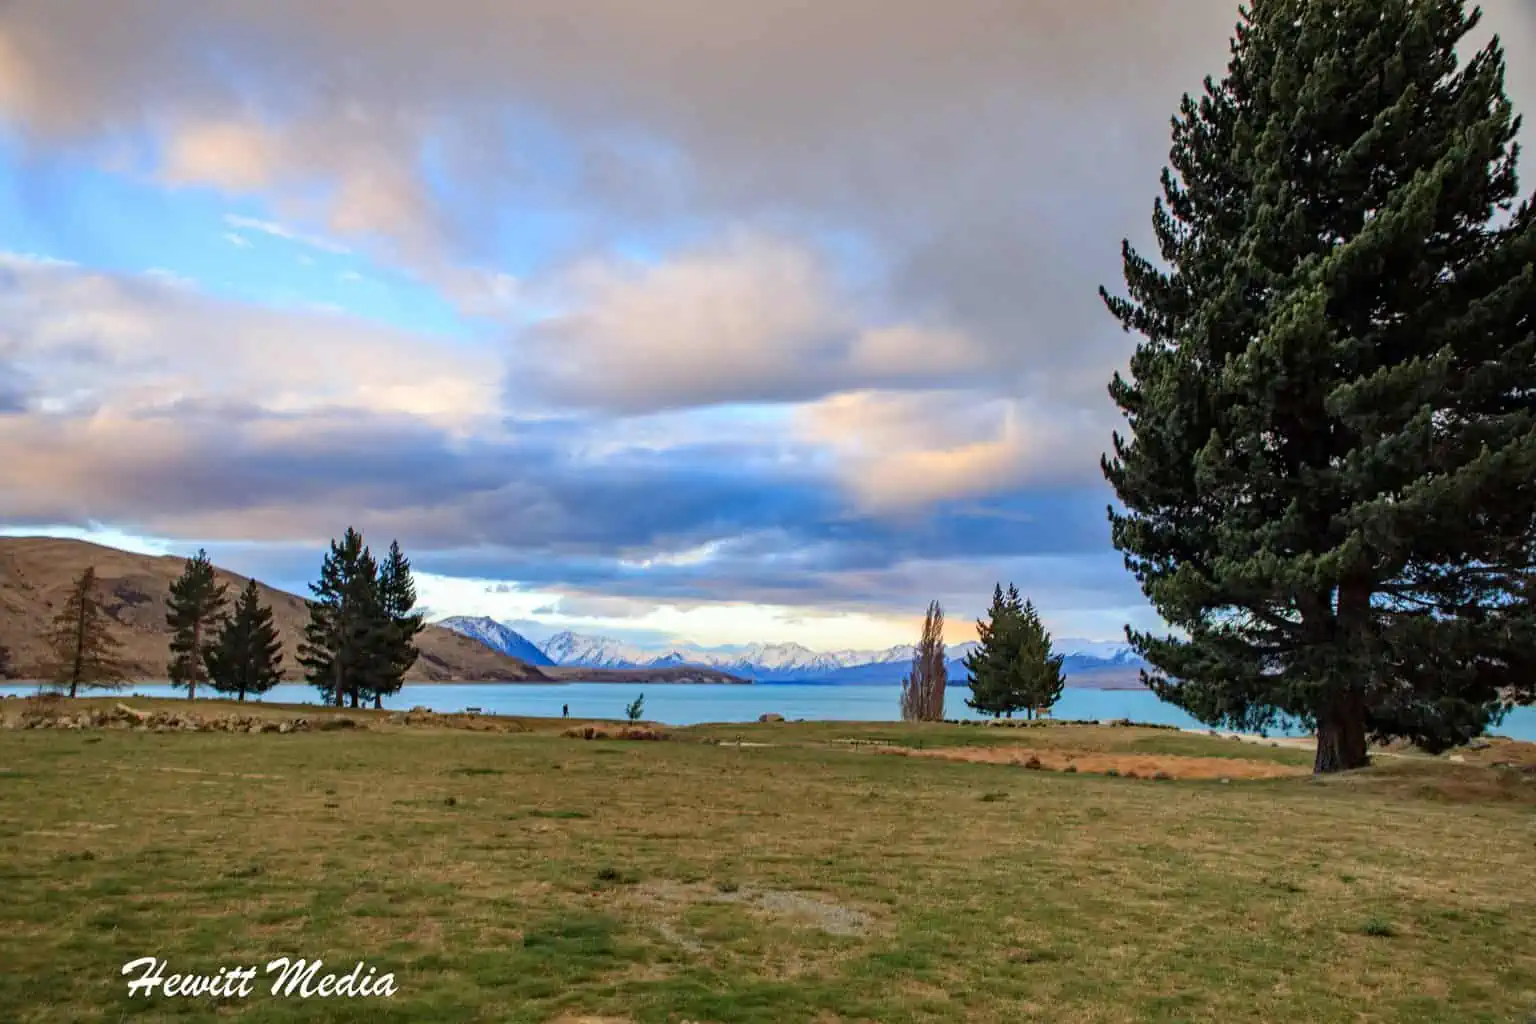
In this image I took of the beautiful Lake Tekapo on New Zealand’s South Island, I tried to work this beautiful bench into the foreground. I think it really helped paint the picture that Lake Tekapo is a beautiful place where you can sit, relax, enjoy the beauty, and reflect on life. Adding the bench to the composition really helped me convey to the viewer that message.
Don’t Forget to Subscribe to My Adventures!

Let Me Help You Save On Your Next Adventure!
‘Start Exploring Today’ Merchandise Available Now!
 |
 |
 |
 |
 |
 |
 |


Can I just mention, your photos make me want to become a professional photographer. They’re so beautiful.
Thank you so much for the kind words!! 😃
New Zealand is so beautiful! Your photos make me want to go back!
Thank you so much!! I totally agree! One of the prettiest places I have been 👍😀
Great take-aways, even for a point-and-click person such as myself. In particular, I’m noting the leading lines and the rule of thirds. Thanks, Josh, and beautiful pics!
Thank you so much!! As always, you are too kind 😀
I wish that I had seen this before I went to NZ! Your photos are stunning and make me want to go back though!
Thank you so much!! It is such a beautiful place! 😃
Cool.