LAST UPDATED – 2/15/24 – Landscape Photography Tips
As a travel photographer, there is a lot of subject matter that you are going to want to photograph during your travels. This includes the wonderful people that you meet and their cultures, interesting cityscapes and buildings that you come across, beautiful wild animals that you see on safari or out exploring, and of course the beautiful landscapes that you get to enjoy.
Out of all of these subjects that travel photographers get to photograph, my favorite by far is photographing breathtaking landscapes. There is something so moving and awe-inspiring about photographing a landscape that is so beautiful that it hardly looks real. If you don’t know that feeling, then I would suggest you start seeking out those landscapes and start exploring them.
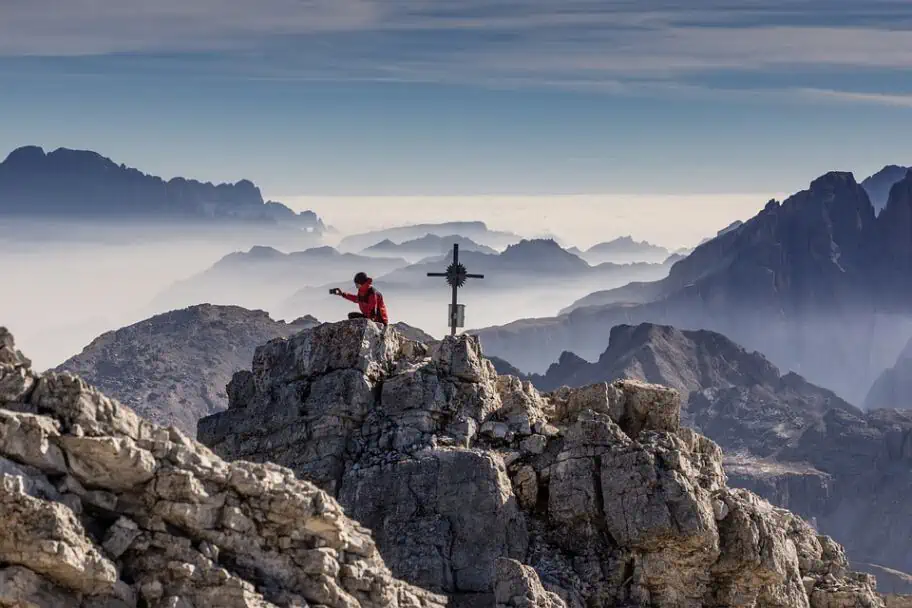
As beautiful as the landscapes on this planet can be, and as easy as you might think it would be to photograph those beautiful places, there is much more to the process of landscape photography than just picking up a camera and shooting. If you want to capture really high-quality landscape photographs when you travel, you are going to want to practice and refine your craft.
To help get you moving in the right direction, I have put together landscape photography tips to help you take your photographs to the next level. In addition to providing you with some links to some basic photography resources I have created, I also included ten great tips below that will instantly help you elevate your landscape photography.
Follow Me On Instagram
If you would like to see some of these landscape photography tips in action, make sure you check out my collection of travel photographs on my Instagram page. It is a lot of work to put together these guides to share with you, so your support in the form of a would be greatly appreciated!
FOLLOW ME!
Basic Travel Photography Tips
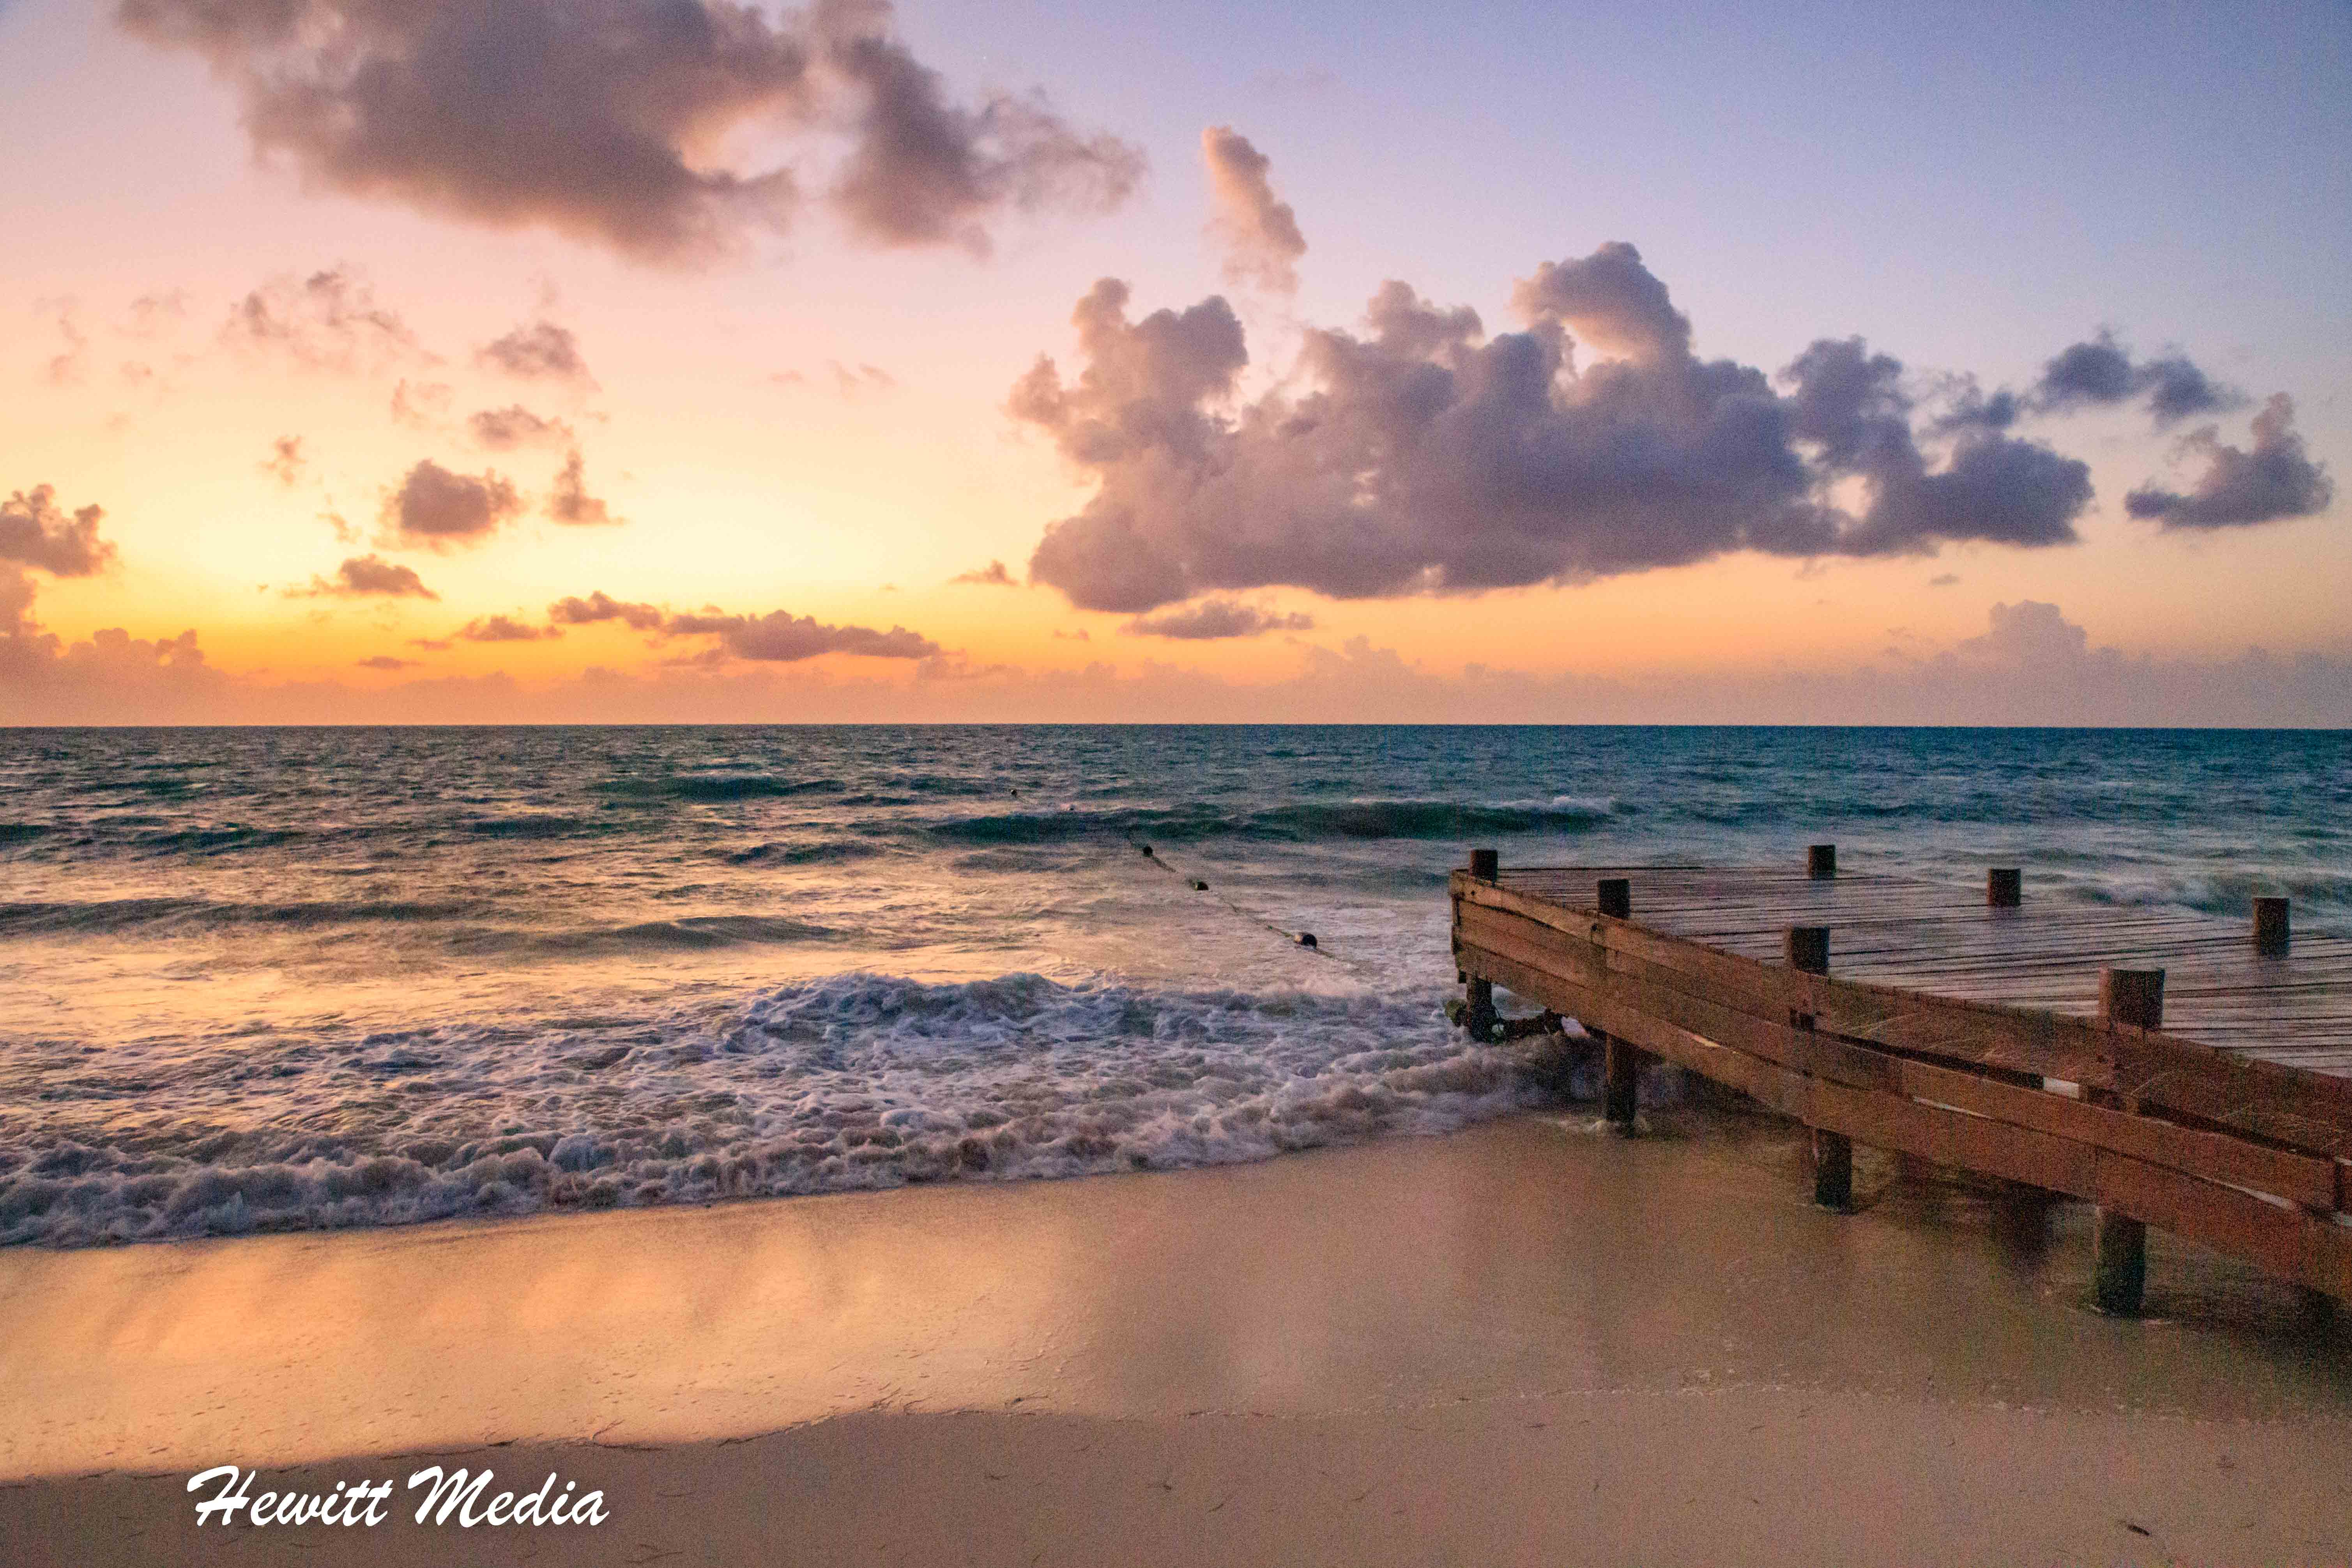
Before I get into my landscape photography tips, I think it is important that you have a solid travel photography foundation. Some of the most basic tips that I can give you for photography in general are going to have a really big impact on how your landscape photographs come out. As a travel photographer, you are also going to want to understand what gear to use, how to use it, and what mistakes you will need to avoid.
To assist in providing you with this photography foundation, I have linked to a number of my useful photography guides below. Before continuing on with this article, I would make sure you have a solid grasp of the material covered in these guides.
How to Capture Sunsets Like a Pro
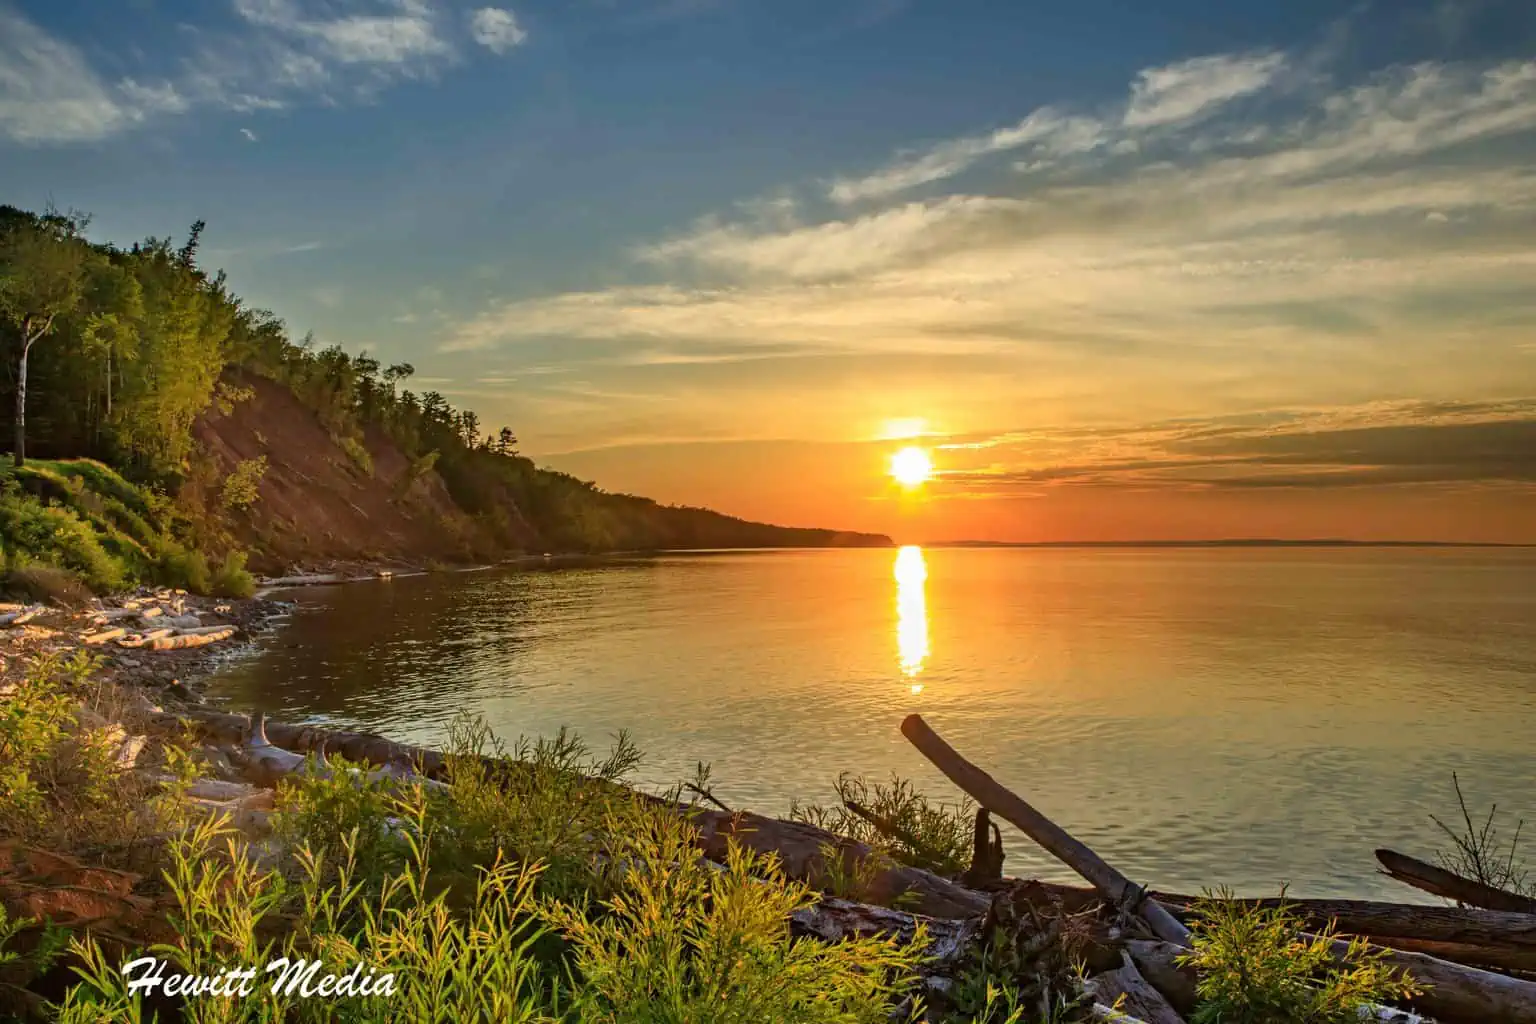
If you have ever been faced with the perfect sunset while traveling, only to get your camera out, snap some photographs, and then be extremely disappointed in how they turned out when you get home, you are not alone. You would think that getting great photographs of sunrises or sunsets would be easy.
What many starting photographers may not realize, and thus account for, is that shooting into the sun can really throw your camera’s built-in light meter off. In other words, when you are shooting into the sun to capture a sunset, your camera’s light meter may think the shot is brighter than it actually is.
The key to compensating for this issue is to first aim your shot above the sun. In fact, the sun should not even be visible in the viewfinder when you first compose your shot. Then, the key is to hold the shutter button halfway down so that your camera gets focused and adjusts for the light in the shot (don’t press the shutter button all the way down).
Once your camera has gotten focused, keep the shutter button pressed halfway down and recompose your picture to include the sun. By doing this, you will be able to compose your picture with the sunset in it, but your camera’s light sensor will not overcompensate and ruin your shot. Remember, you need to keep the shutter button half-pressed while you move your composition (don’t release it or press it all the way).
How to Cut Reflections in Water
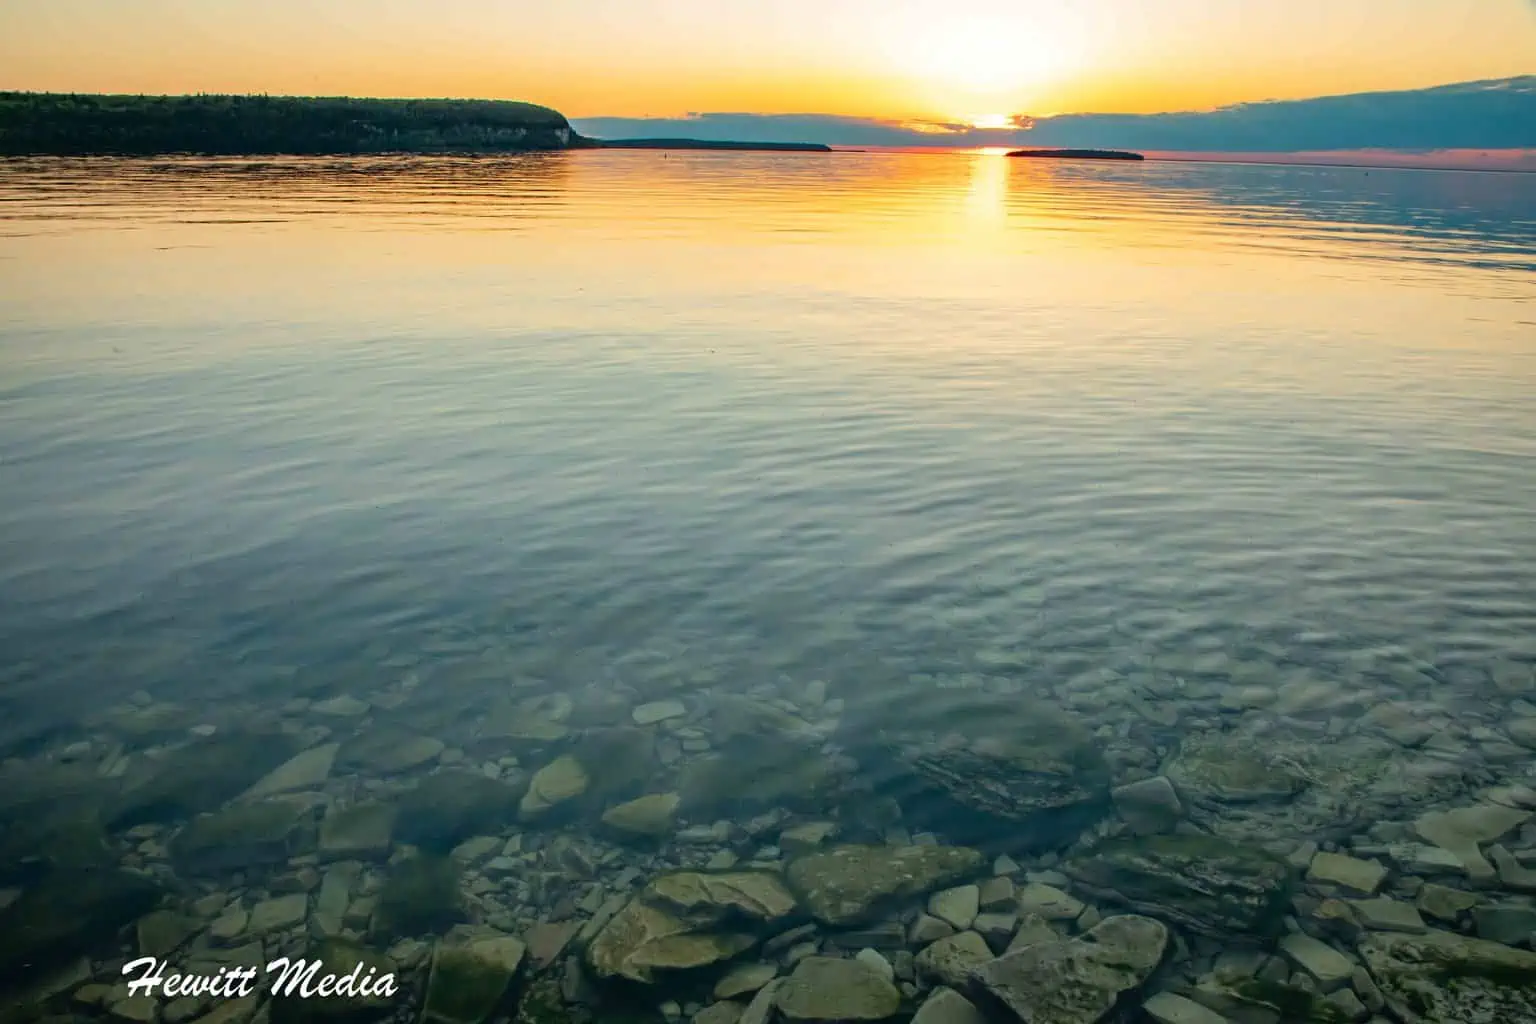
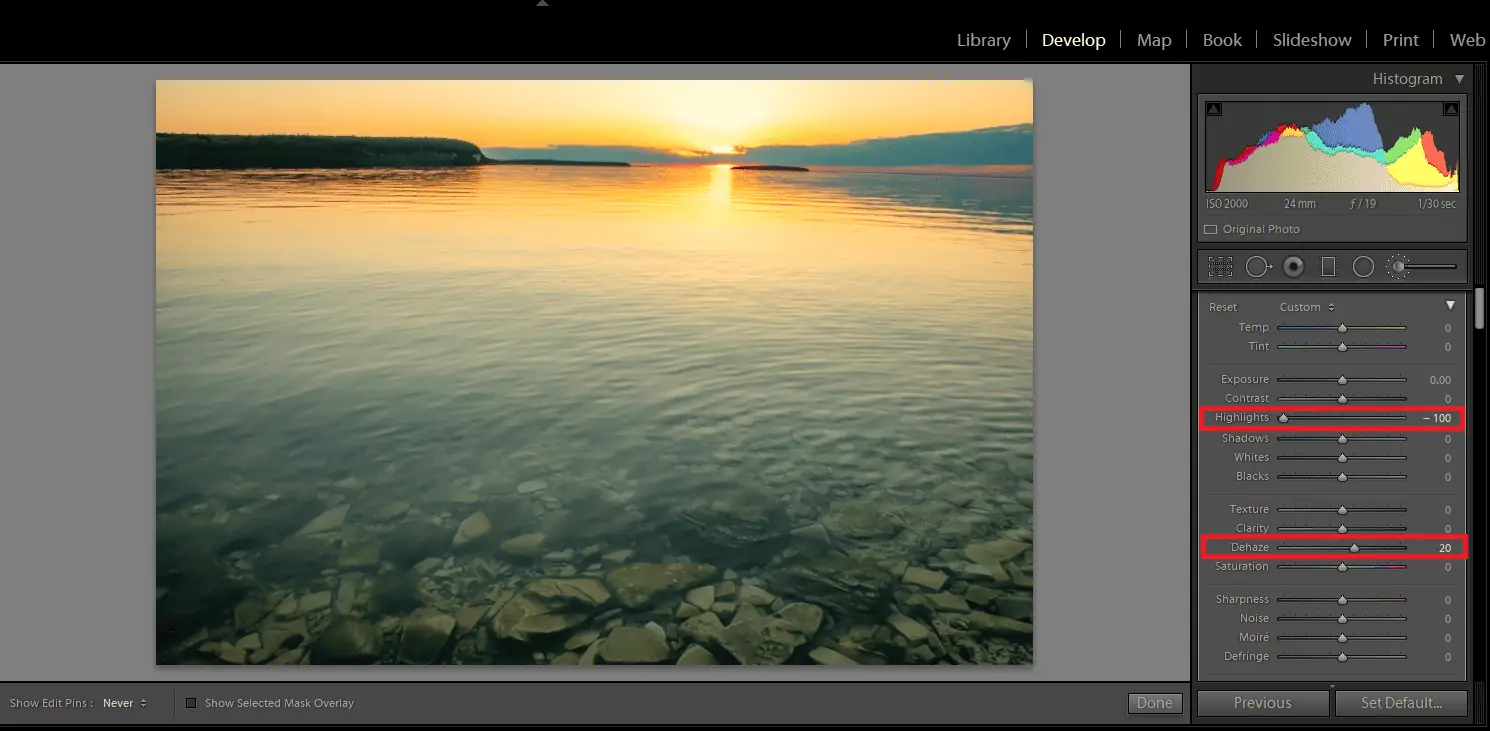
If you have ever tried to take pictures of the beautiful rocks at the bottom of a lake or stream on a sunny day, or while the sun is setting on the horizon like the picture I took in Door County, Wisconsin above, you probably know how difficult this can be to do. It can be really difficult to remove the reflection on the water’s surface unless you know what you are doing. The best way to remove glare or reflections from any photograph that you are taking is to use a polarizing filter on your lens. Not only will the polarizing filter bring out the blues in the sky for your landscape shots, but it will also help you manage glares and reflections.
If you didn’t have a polarizing filter with you when you took your shots but would like to try and remove some glare or reflection in post-processing, there are a few simple things that you can do. The first is to minimize the highlights in your photograph. Highlights are the portions of your photograph that were too bright for your camera to capture detail.
Lowering the highlights in an application like Adobe Lightroom will help minimize the bright glare in your shots. The next thing to do is to use the Dehaze feature in Lightroom to minimize any reflections that may exist in your photographs. This feature will actually make the rocks below the surface clearer and easier to distinguish in your photograph.
The Best Way to Shoot Streams
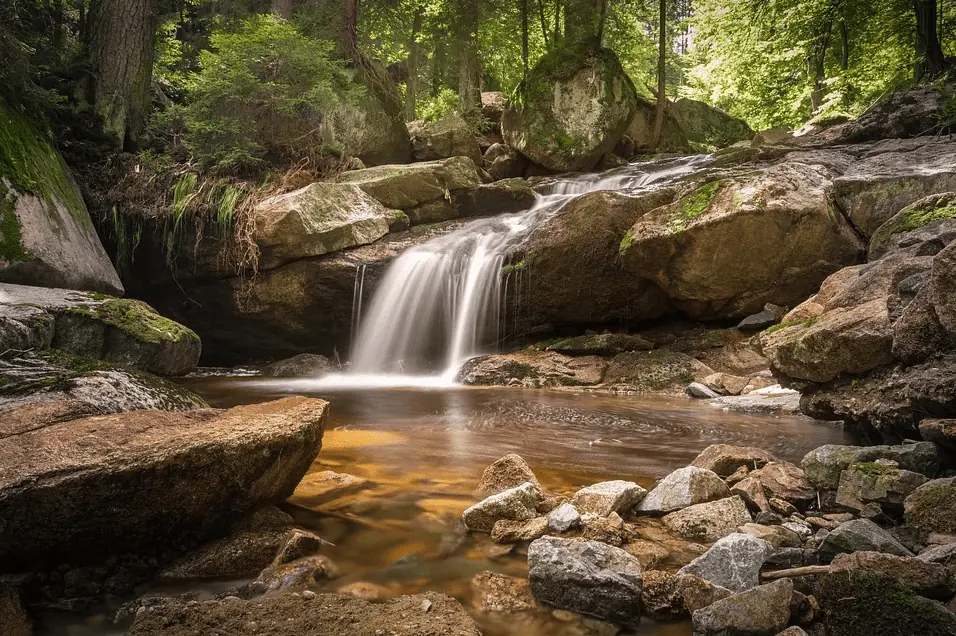
If you have ever woken up while traveling, noticed that the weather is overcast and cloudy, and thought to yourself that it is going to be a horrible day to take landscape pictures because of the bad lighting, you would only be partially correct. Yes, the overcast skies can make it very difficult to get great photographs of many different types of landscapes. However, it can also present an opportunity to get great photographs of other landscapes.
In particular, it can be a wonderful time to shoot streams and waterfalls. The overcast skies provide the perfect dim lighting to give streams, rapids, and waterfalls that eerie feel that makes photographs like the one you see above really pop. If you are shooting in light rain or drizzle, this can make your photographs even better as the wet rocks, moss, and ground surrounding the water can really add to the effect.
Streams are Perfect Subjects for Long Exposure Shots
Another great thing about shooting streams, rapids, and waterfalls with overcast skies is that it is the perfect time to use a long exposure. If you aren’t familiar with long exposures, it is the practice of using long-duration shutter speed to make the stationary elements of your photograph (the rocks, the trees, the land surrounding the water) sharp and crisp while blurring the moving elements of your photograph (the moving water). If you take a look at the image above, you can see this concept in action.
By extending the shutter time to longer than it is supposed to for the photograph, we have blurred the moving water in the photograph while the rest of the image remains sharp. When the sun is out and it is bright, you will typically need to use a neutral density filter to prevent your image from being washed out by highlights (being too bright) when extending the shutter time. However, a cloudy, overcast day can reduce that need and make long-exposure photographs easier to take.
The Key to Getting Wonderful Rainbow Shots
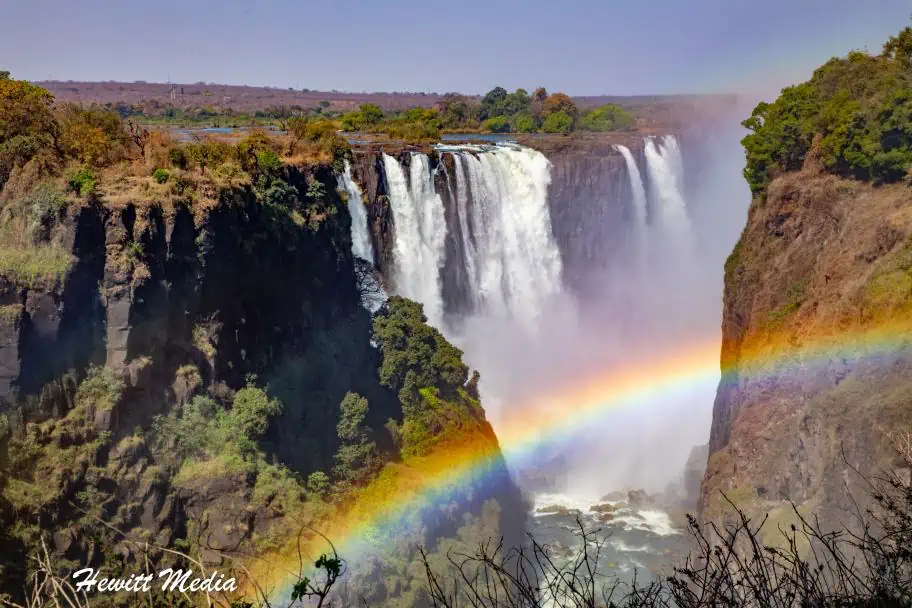
If you have ever seen a beautiful rainbow while traveling and taken a picture of it, only to find the rainbow is barely visible in your photograph, I have a tip that can really help you. The best way to ensure that the rainbows that we photograph, in addition to the beautiful blue skies behind them, show up in your photographs is to have a polarizing filter on your lens when you take your photographs.
You got it, there is another great advantage to using a polarizing filter for landscape photography. Not only does it bring out the deep blue in beautiful skies and reduce unwanted reflections and glares, but a polarizing filter can also deepen the colors in the rainbows we photograph as well. This is why a polarizing filter is something that I automatically purchase for each lens I buy and is something I keep on my lenses by default, only removing them when I am not shooting landscapes.
Where to Focus on Landscape Shots
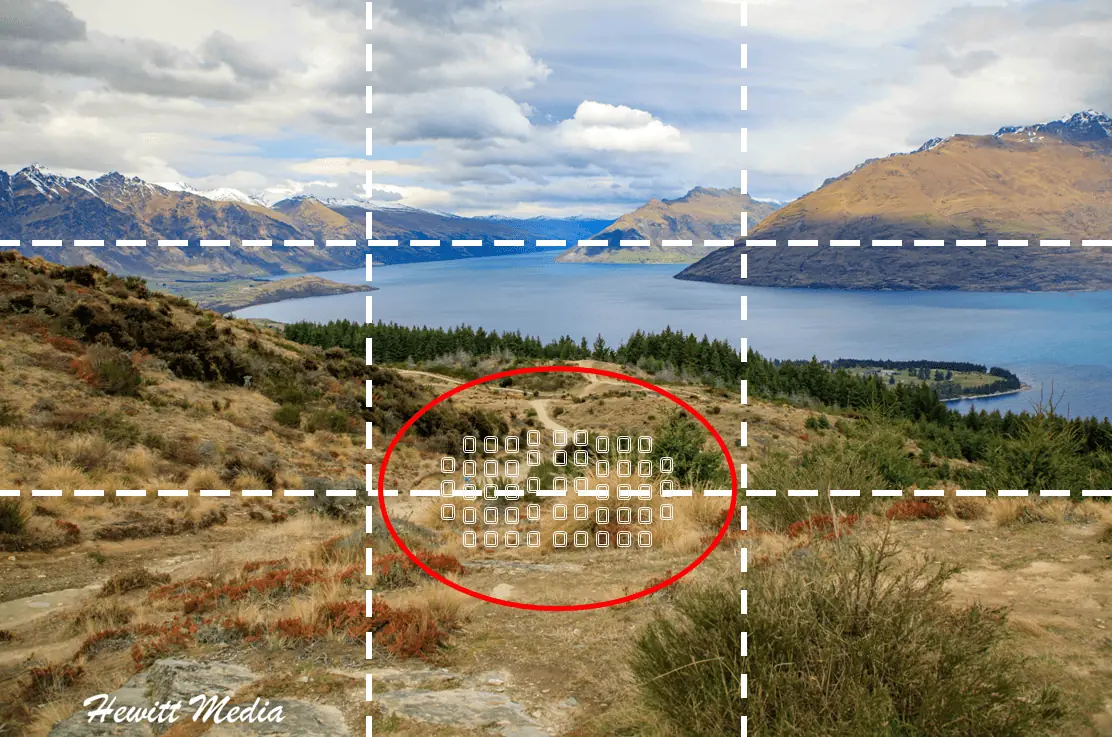
Out of all the landscape photography tips that I can give you, the tips on how to focus are by far the most important. As you are probably aware, the default spot for your camera’s focus is on the center of the viewfinder. However, you are not going to want to focus on this spot for landscape shots as it will not give you the widest possible range of focus. For those who are unfamiliar with the range of focus, it is the distance before and beyond the focus spot in a photograph where the elements of the image are in focus.
For instance, with a very shallow range of focus, only the element you are focusing on is in focus. This can be a very desirable effect when shooting portrait photography as the person you are photographing will be in focus while the rest of the image is blurred. However, this is less desirable in landscape photography where you are trying to showcase the entire landscape.
Instead of focusing on the center of the image, with landscape photography, it is recommended to focus one-third of the way into your image. If you were to divide the image up into thirds both horizontally and vertically, like I did with the image above, you would focus along the bottom third of the image towards the center.
You will also want to decrease the aperture of your shot so that it increases your range of focus. The smaller the aperture, the greater the range of focus. For those unfamiliar with this concept, I have included a graphic below that will help illustrate what I am referring to.

Find Great Light, Then Decide What to Shoot
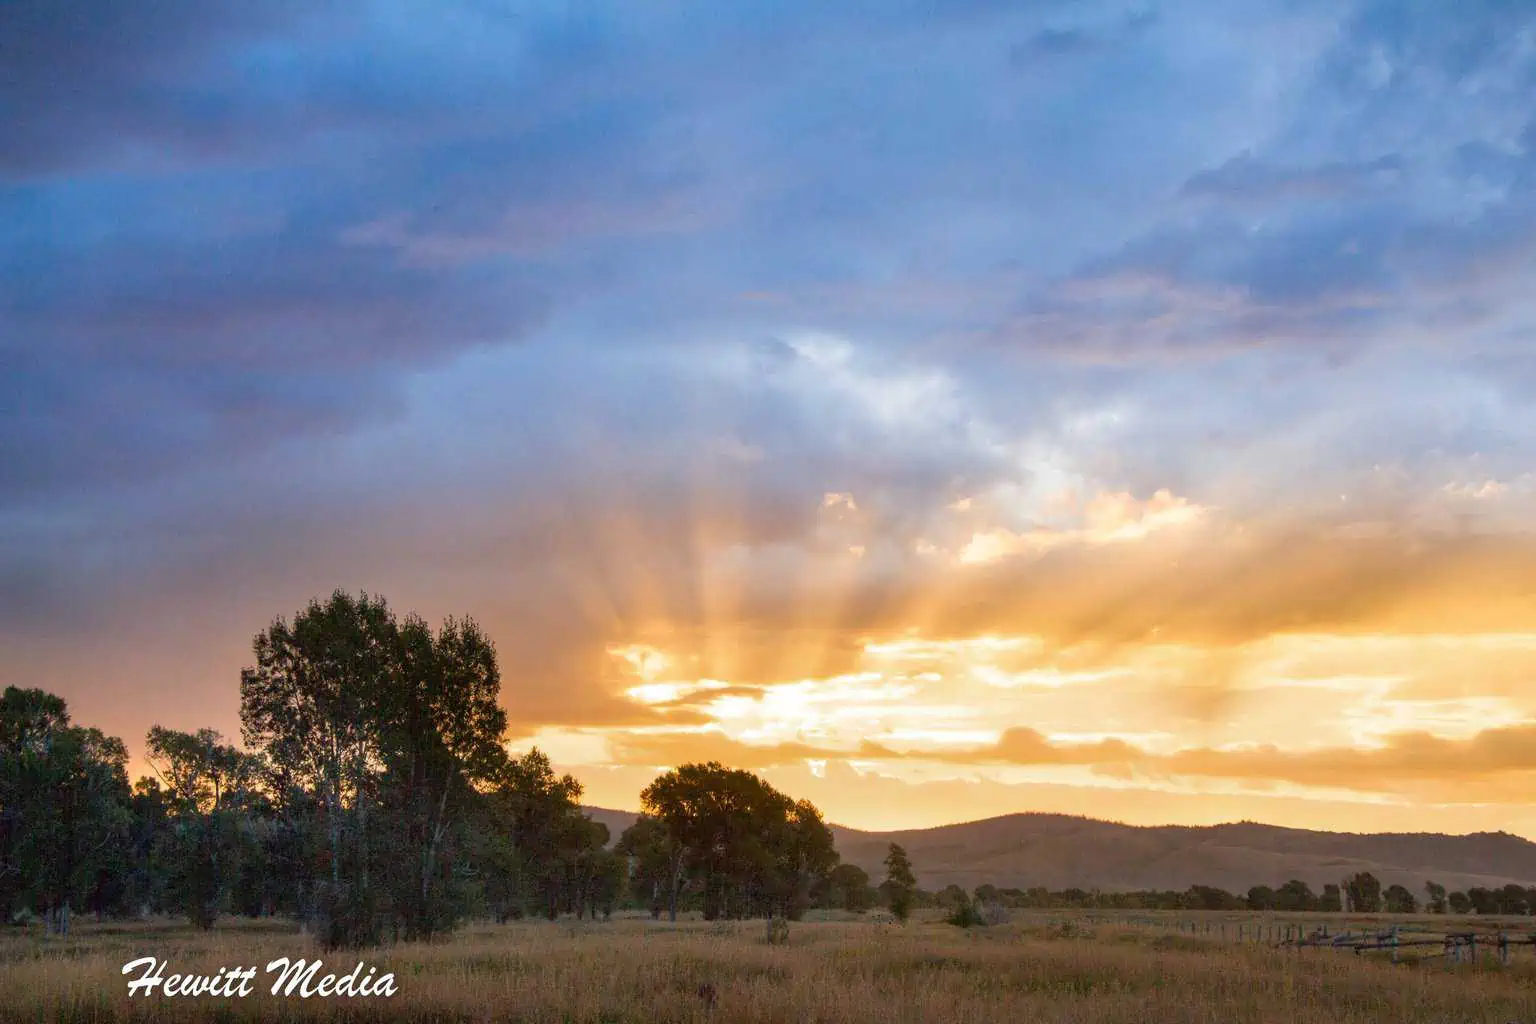
Like all other photography, the factor that will have the biggest impact on the quality of your photographs is the light that you have when you take a picture. That is why so many of my landscape photography tips are centered around finding and using the right light. Great light can either make a good picture absolutely great or take a great picture and completely ruin it. When it comes to landscape photography, having great light can be even more important than the landscape you are photographing.
For instance, take the picture I took of the Grand Teton National Park above. This sunrise picture is of nothing overly special in particular. It is just a picture of a large field just outside the park. However, because of the breathtaking sunrise, this picture is transformed into something much more spectacular.
This is why one of the most important tips I can give you for enhancing your landscape photography is to always search out great light, and then figure out to photograph when you find it. If you have a great sunrise or sunset, or the perfect soft light that gives your photographs a warm glow, then you can find something interesting nearby to photograph in that light and come up with a better photograph than if you searched out a pretty landscape to photograph but had horrible lighting.
If you are interested in learning how to predict when amazing sunrises and sunsets will occur, please refer to my Predicting Amazing Sunrises and Sunsets guide, linked below.
| READ MORE: | |
 | |
| Predicting Amazing Sunrises and Sunsets |
How to Best Shoot on Overcast Days
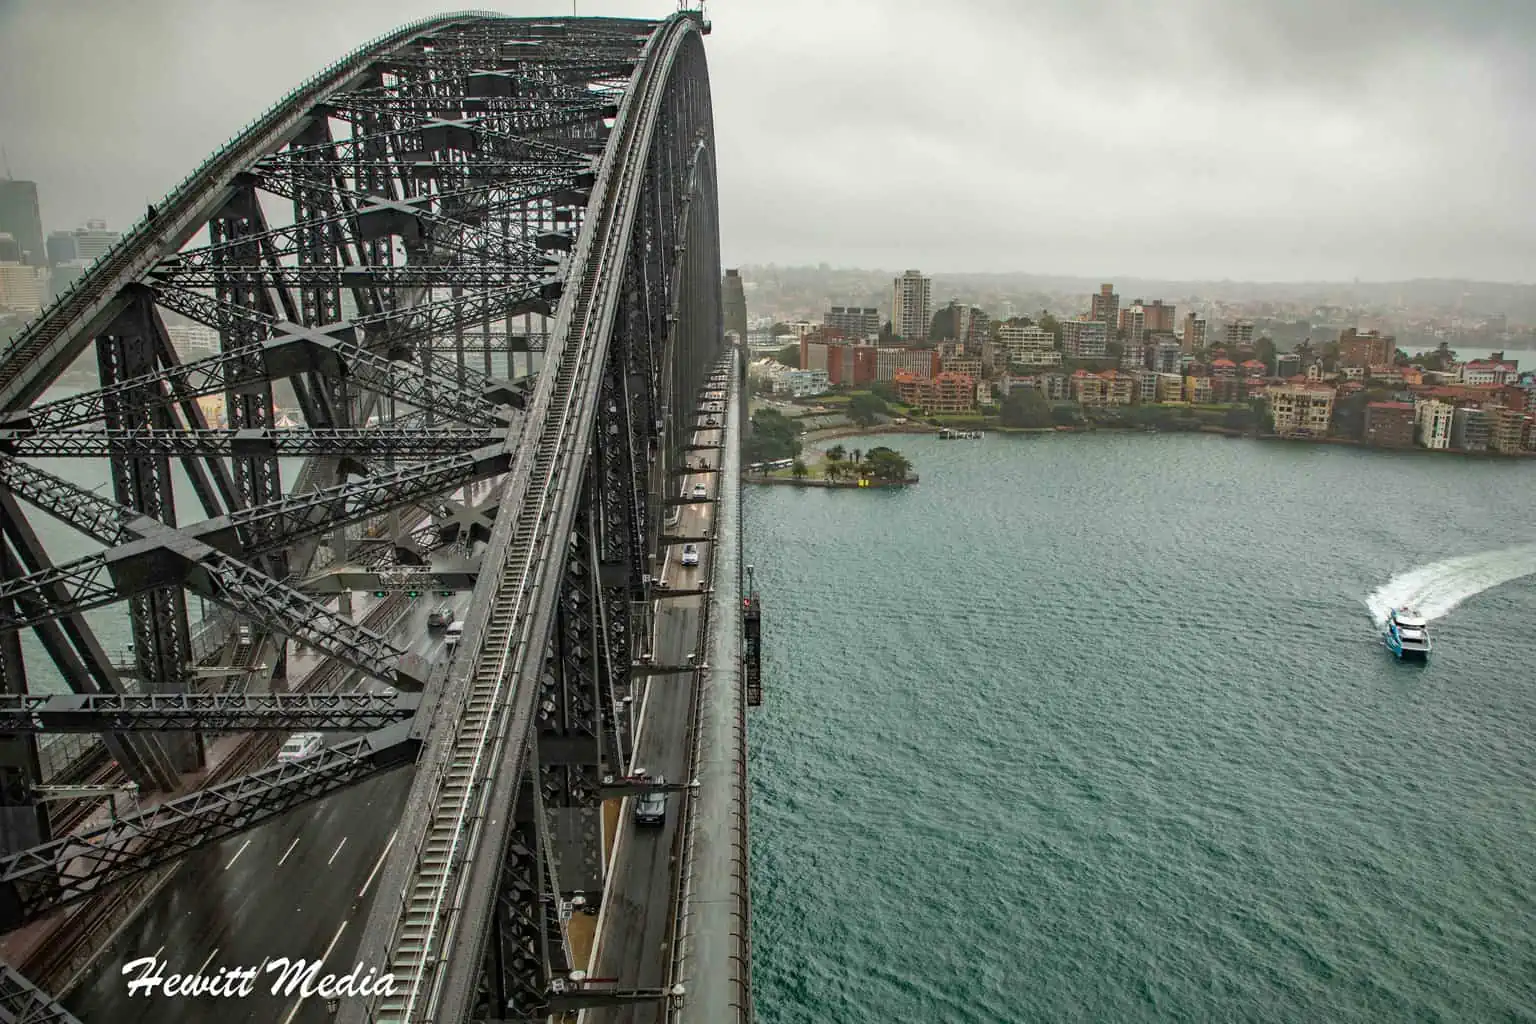
I cannot tell you how many times I have been traveling where the skies are overcast and I have heard someone say that they are putting their camera away because it isn’t even worth shooting photographs in these conditions. Granted, shooting photographs with an overcast sky can be challenging. For one thing, the sky almost always looks grey, drab, and boring. The lighting is also less than ideal with an overcast sky, which means that you need to work harder to find light or help your camera compensate. However, with some helpful instruction, you can still find ways to capture amazing photographs, even with an overcast sky.
One of the best landscape photography tips that I can give you for photographing landscapes on an overcast day is to find ways to take the primary focus of your image away from the overcast sky. You don’t want the viewers of your photographs to fixate on the drab and boring sky, so you need to find ways to lure their eyes elsewhere. For instance, when we visited Sydney, Australia last year, we had a lot of bad weather in the 3 days that we stayed there.
Instead of giving up and not photographing the beautiful harbor bridge, I found a way to creatively photograph the bridge that would put the user’s attention on the bridge and not the overcast sky and bad weather. As you can see in the photograph above, from this angle the bridge becomes the overwhelming factor in the photograph and you hardly notice that the sky is overcast and bland.
The Keys to Taking Pictures in Fog
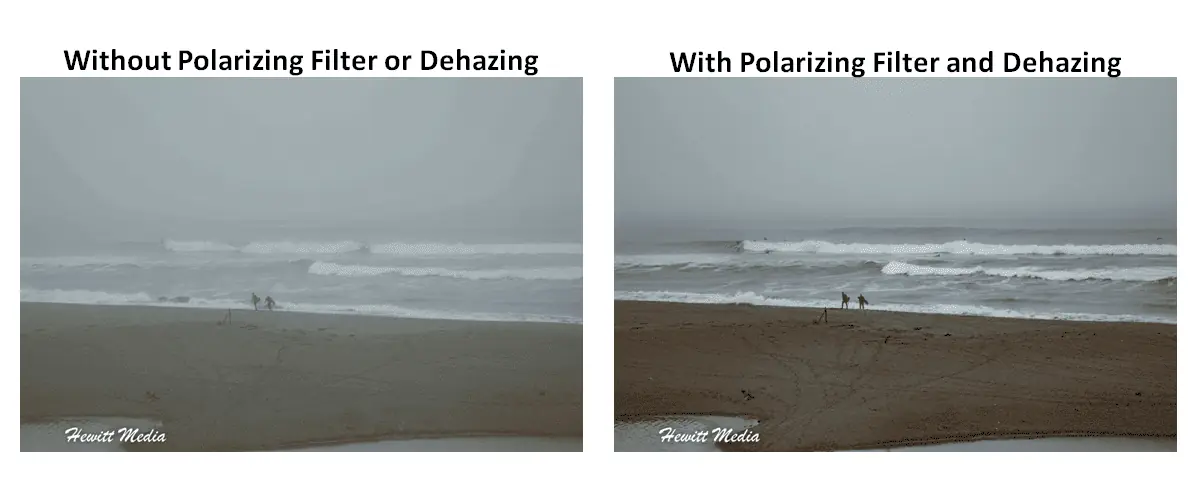
As a travel photographer, one of the most challenging conditions to capture beautiful landscape photographs is a heavy fog. Not only does a heavy fog reduce the amount of light that you have to work with, but it can also obscure the subjects that you would like to photograph. One of the best ways to cut through the fog and ensure that the subjects you are photographing are clear and crisp in your photographs is to use a polarizing filter.
Take the example above where I was photographing surfers in Sonoma, California. In the image on the left, where I didn’t use a polarizing filter, you can hardly make out any details in the waves or the photographers walking on the beach. In contrast, in the image on the right where I did use a polarizing filter, the details in both of those areas of the photograph are much clearer.

If you forget to bring a polarizing filter for your lenses when you travel, there is also a trick that I can teach you to cut through some of the fog in post-editing with an application like Adobe Lightroom. The Dehaze function in these photo editing applications can help you cut through the fog and bring out some of the detail that was lost. As you can see in the example above, where I applied the Dehaze using a brush in my photograph, the detail in the photo is much clearer than in the areas where I didn’t apply the Dehaze feature.
The Full-Frame Advantage
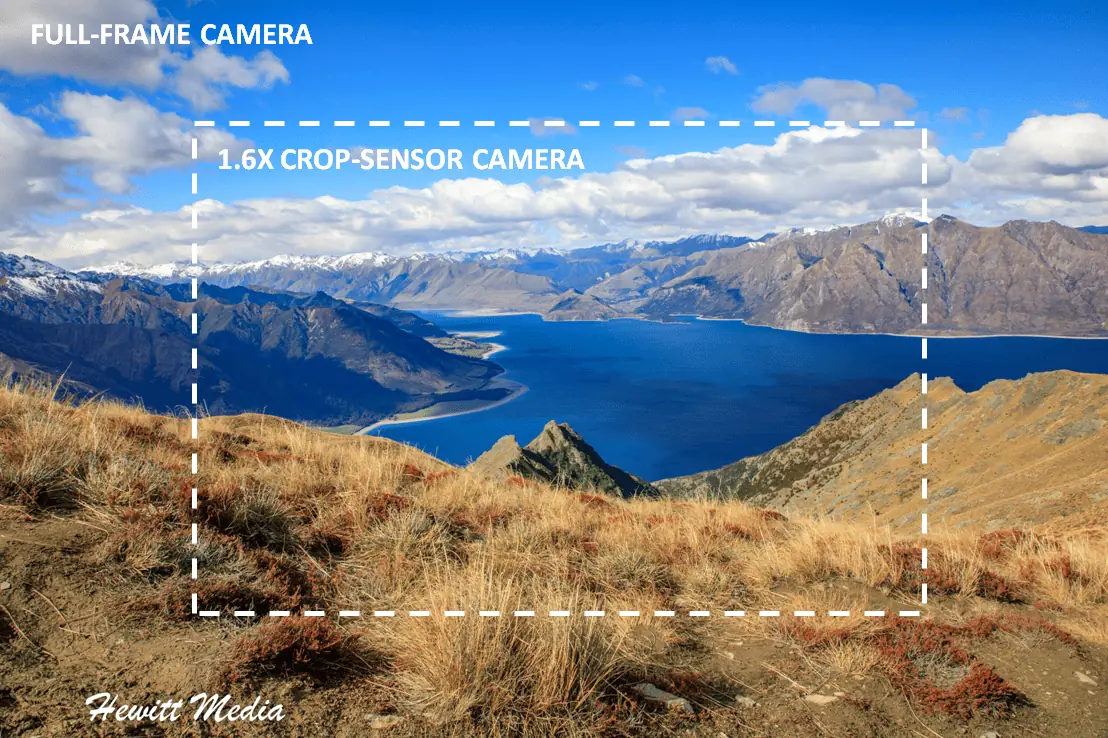
If you are an outdoor adventurer like me, then you probably spend quite a bit of time traveling through beautiful landscapes like I do. If you are going to photograph beautiful landscapes, one of the best ways that you can set yourself up to capture the most breathtaking pictures possible is to invest in a full-frame camera.
Not only will a full-frame camera allow you to shoot more of the landscape you see (as illustrated above), but full-frame cameras also allow more light into their sensors than cameras with crop sensors, and thus are typically better in low-light photography. This means that the photographs that you take at sunrise and sunset will have much more detail in the shadows than you would get with a camera with a crop sensor.
How to Make Your Flower Shots Really POP
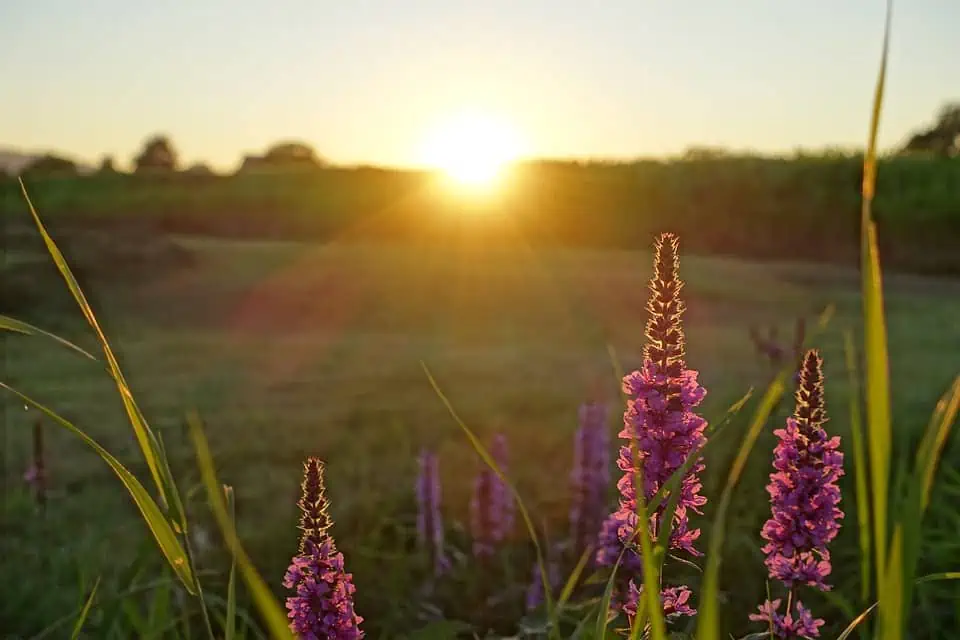
Have you ever come across really beautiful flowers when traveling, and then wondered how to best incorporate those flowers into your landscape shots? If so, I have a tip that you will love to learn. One of the best ways that I have learned to incorporate flowers into my landscape shots is to use them as an interesting foreground in my compositions. This way, they give the viewer something to look at in the foreground that contrasts with the beautiful landscape that you are photographing.
If you have great light, for instance with a beautiful sunrise or sunset, you can catch the flowers with the sunlight illuminating their peddles, which has an incredibly beautiful effect. As you can see in the photograph above, the purple flowers are lit up by the sunlight, which makes the flowers look incredibly beautiful as a foreground in the photograph.
Don’t Forget to Subscribe to My Adventures!

Let Me Help You Save On Your Next Adventure!
‘Start Exploring Today’ Merchandise Available Now!



You are so talented Josh. Your photographs are stunning! P.S. We’ve tentatively settled on some 14ers. Might try to do the 4-pack of Lincoln/Democrat/Cameron/Bross on one day, then take a rest day, then do Quandry. Might be a little ambitious as we’ve always just done one 14er per trip, but what the hell, right?
Thank you so much!!! You just made my week 😀
As for your 14er plan, that sounds AMAZING!!!! I contemplated staying in Colorado longer and doing more, but Southern Utah is pulling at me (as it always does). I can’t wait to hear about your climbs!!!
We’re headed there, too! Mainly Escalante area and Dead Horse Point. A bit of UT + a bit of CO + a bit of hiking + a bit of cycling = good times. By the way, have you seen Colorado’s latest travel/tourism slogan: “Wait to CO.” They don’t want us. 🙁
Awesome!! Sounds amazing!! Have not seen Colorado’s latest tourism slogan. That’s disappointing 😢
Wonderful and useful tips! Thank you for sharing, Josh.
Thank you so much for the kind words! 😃
Such great tips – thanks for sharing!
Thanks Matthew!!! 😀
Great detailed guide, thank you! I’ve missed out on capturing so many gorgeous sunsets as the brightness has been thrown off, can’t wait to give your tips a go.
Thank you so much!! I am so glad you found the guide helpful 😄