LAST UPDATED: 3/15/26 – Avoiding Photography Issues When Traveling
Travel photography is a deeply personal thing. The photographs that you take are the record of your journey and your adventures. They are our best way of not forgetting the beautiful things that we’ve seen, the amazing things that we’ve done, and the wonderful people that we have met along the way. Without those photographs, we wouldn’t be able to so vividly share our travels with others.
Like all photography, and all things in life really, travel photography takes time and practice to really become good at it. Inevitably, you will run into some bumps along the road. I have met experienced photographers who have been shooting for decades and have told me that even they have to discard shots because of issues. The key is learning tricks to avoid photography issues when traveling.

In this article, I am going to lay out some of the biggest obstacles to taking great travel photographs and explain how to avoid photography issues while you are traveling. If you follow these tips, you will avoid some of the more common and frustrating issues that travel photographers typically run into. If you can do that and keep practicing as you travel, you will be well on your way to taking some truly fantastic travel photographs.
Bring Extra Batteries for Cold Weather

One thing that beginning photographers don’t realize is that their camera batteries drain faster when they are in cold weather. Because we, as travel photographers, spend much of our time taking pictures on the road, the likelihood of this becoming an issue for us is higher than, say, a portrait photographer who shoots primarily in a studio.
If you are planning on traveling somewhere where you know the temperature will be cold, I would strongly suggest that you bring additional camera batteries with you. This will help you avoid running out of battery power while you are out-and-about taking pictures.
Don’t Change Lenses in Dusty Weather

If you are traveling somewhere where there is a lot of dust in the air, I would strongly suggest that you avoid changing your camera lenses in dusty conditions. Doing so could introduce dust into your lens, and it can be very time-consuming and costly to get your lenses cleaned.
When I first started traveling, I visited Antelope Canyon in Northern Arizona. If you aren’t familiar with Antelope Canyon, it is a beautiful slot canyon that has become incredibly famous because of social media posts of the canyon. In addition to being incredibly beautiful, it is also an incredibly dusty environment.
| READ MORE: |
 |
| Comprehensive Antelope Canyon Guide |
When I was visiting and taking shots, I made the mistake of changing lenses while in the canyon. This mistake cost me hundreds of dollars and countless hours spent trying to get the lens cleaned. In the end, I had to send it in for servicing and was without the lens for weeks. So, unless you want to needlessly spend a lot of money, caring for your lenses is one of the best ways to avoid photography issues when traveling.
Avoid White Balance Problems

Few things can make your vacation photos look more bland and boring than using the wrong white balance settings when taking your photographs. If you are snapping shots on a cloudy day and have your camera’s white balance setting set to sunlight, your pictures will look really dull. If you look at the example above, you can see just how much the white balance can affect an image.
Ideally, I would recommend adjusting the white balance as you are out taking pictures. If you are shooting on a sunny day, your white balance setting should be set to sunlight. If it is cloudy, set the white balance to the cloudy setting. This will help ensure that your images look as close to what you saw with your own eyes as possible.

If you forget to adjust the white balance setting for your images in the field, you can adjust the white balance setting for your photographs after the fact if your pictures were taken in RAW format. As you can see in the screenshot above, Adobe Lightroom is a great tool to use to adjust the white balance setting in post-processing for photographs taken in RAW format.
Apply for a Permit When Using a Tripod

As I have talked about often in my Art of Travel Photography series, a good tripod is an essential piece of equipment for a travel photographer. They allow you to eliminate even the slightest amount of movement as you take your shots, which helps you capture images in low light and get the crispest images possible.
However, as useful as tripods are to photographers, they aren’t always welcome everywhere you travel. Another key to avoiding photography issues when traveling is knowing which types of gear aren’t permitted where you are visiting.
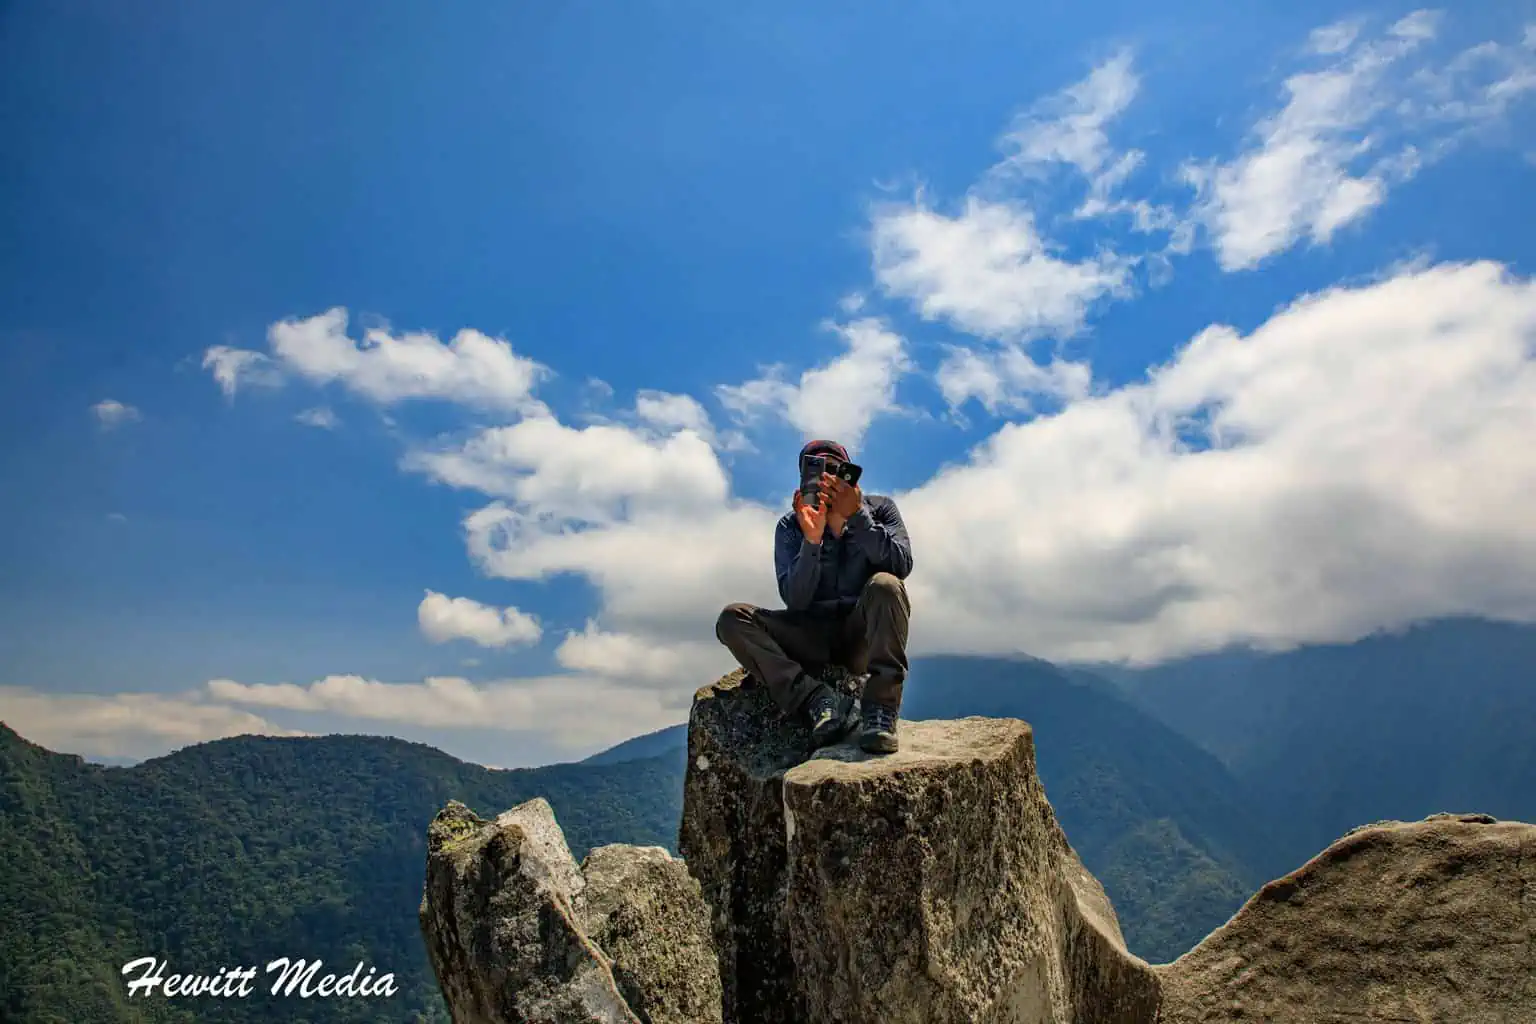
For instance, tripods are not allowed in Machu Picchu without a permit. This rule is in place to both protect the sight and ensure the safety of visitors. If everyone were to set up a tripod on the paths inside Machu Picchu, it would really impede people’s ability to move around the site. If you want to bring a tripod in, you must obtain a permit beforehand, and those cost money.
| READ MORE: | |
 |
|
| Machu Picchu Photography Guide |
It’s not just tripods. In some places, such as the Sistine Chapel and Roslyn Chapel, cameras and video cameras are not allowed inside at all. Before you travel, I would strongly suggest that you research whether tripods, other professional photography gear, and even cameras are allowed.
Always Ask Permission

Another important rule to remember when taking pictures as you travel is to always remember to ask for permission before taking someone’s photograph. I wrote about this in my 10 Simple Rules That Every Travel Photographer Should Follow. Not only is it a common courtesy to ask permission before taking someone’s photograph, but it may also save you from a world of trouble.
| READ MORE: |
 |
| 10 Simple Travel Photography Rules |
During my travels, I have heard stories about other travelers who have gotten into some very serious trouble for taking pictures of people without permission. This is especially true when you are taking pictures of children. In fact, there have been reports of travelers being killed by indigenous peoples for trying to take pictures of children. Always ask before you take your pictures, and you will avoid photography issues and stay out of trouble yourself.
Invest in Good Lens Hoods

If you are going to be traveling to a location with a lot of sunshine, it is always a good idea to have lens hoods with you for your lenses. Without a good lens hood, your shots are susceptible to lens flare, and those precious photographs that you take could be ruined. That is why I have lens hoods listed in my 18 Essential Pieces of Gear for Traveling Photographers.

Lens hoods aren’t an overly expensive piece of equipment, so it really does make sense to get one for each lens you buy. It’s an easy way to ensure you avoid photography issues like overexposed images or lens flare. However, when shopping for a lens hood, keep in mind that they are not one-size-fits-all. You need to make sure that the lens hoods you buy are the right size and specification for your lenses.
| READ MORE: |
 |
| Essential Gear for Travel Photographers |
Avoid the Dreaded Red Eyes Effect

Few things are more annoying when you get back from your trip and take a look at your pictures than seeing the dreaded “red-eye” effect in the people you took pictures of. It can really ruin your photographs. Without getting too technical on you, I will just point out that the main reason you see red-eye in photographs is the result of the flash on your camera. Here are some ways in which you can avoid red eyes in your photographs:
- Adjust your camera settings so that a flash is not necessary. This can be very difficult to do in low-light situations without bumping the ISO up so high that your images get grainy and are ruined for that reason.
- If you are shooting with a DSLR, instead of using your camera’s built-in flash, purchase an attachable flash and softbox diffuser.
- Don’t aim your flash directly at your subject, but instead try to reflect the flash off the wall or ceiling so that it illuminates your subject indirectly.
- Use the Red-Eye removal tool in Adobe Photoshop or your photo editing software of choice.

Backup Your Photos Regularly When Traveling

The absolute worst thing that can happen to you as a travel photographer, from a photography perspective at least, is to lose all of your photographs when you are traveling. I had this happen to me with a memory card that went bad when I first started traveling, and I still haven’t gotten over the wonderful photographs that I lost.
It is always a good idea to back up your photographs as you travel. This may be something as simple as backing them up to a computer or tablet as you g,o or something as sophisticated as buying a memory card backup device that you can use while you travel. Whichever method you choose to back up your photographs, a day will inevitably come when you are glad you did.
Bracket When You Aren’t Sure About the Exposure

Understanding the correct exposure to use when you are taking a photograph is one of the most important aspects of photography. It is also one of the most difficult aspects of photography to learn. If you haven’t read my Tips for Taking Pictures in Low Light yet, I would suggest that you do so for a more detailed explanation of what finding the correct exposure entails.

One way that you can compensate for not being completely sure about which exposure to use when taking a shot is to do what is called bracketing your shots. Bracketing your shots entails taking a photograph at different exposures, with different shutter speeds. This allows you to get multiple different exposures of the same image that can be combined into one.
| READ MORE: |
 |
| Tips for Taking Pictures in Low Light |
If you have a DSLR, most have a setting that will allow you to automatically bracket your photographs. On entry-level DSLRs, this feature is typically marketed as a hand-held nighttime setting where the camera will automatically determine and take the shots and different exposures and combine them into one shot for you.
With one higher-end DSLR camera, you specify how big a gap you want in the exposures, and the camera will take the shots with that variation in the exposure. You can then use exposure blending or other post-processing techniques to combine the shots into one image. If you aren’t familiar with what exposure blending entails, I wrote a beginner’s guide on Exposure Blending for Dummies that you can review.
| READ MORE: |
 |
| Exposure Blending for Beginners |
Careful About Using Too High an ISO Setting

The last tip that I have for you on how to avoid issues when taking pictures when you travel is to avoid bumping up the ISO setting on your camera too high when taking pictures in lower light. If you aren’t familiar with what the ISO setting is, it is essentially what controls how sensitive your camera is to light. The higher the ISO setting, the lighter your images will be.
Increasing the ISO can be a useful tool when taking pictures in lower light settings because it can help you get properly exposed images when the amount of light is limited. However, the higher you bump up the ISO setting, the more susceptible your photographs are to noise. Noise is the graininess that you see in photographs that are shot in lower light, much like the one I posted above.
If you have a DSLR camera, it will have a built-in ceiling that controls how high the ISO for your camera can go. A vast majority of the time, the ISO ceiling is much higher than what you would want to use when taking photographs. If you have your camera set to Auto ISO, make sure you are cognizant of what ISO your camera is listing in the viewfinder for a particular shot before taking it. If the ISO setting is too high, you can always think about either increasing the aperture or shutter speed instead.
Don’t Forget to Subscribe to My Adventures!

Let Me Help You Save On Your Next Adventure!
‘Start Exploring Today’ Merchandise Available Now!
 |
 |
 |
 |
 |
 |
 |


Leave a Reply