LAST UPDATED: 6/28/26 – Niagara Falls Photography
This Niagara Falls photography guide references products on my Amazon Store site. I may receive a commission when you purchase these products from my store, though at no additional cost to you. I hand-pick and recommend only products with which I am familiar or comfortable recommending.
Located on the border between the United States and Canada, the breathtaking Niagara Falls is one of the world’s most iconic natural wonders. However, as beautiful as the falls are, they can be a challenge to photograph if you aren’t prepared. To capture the essence of this magnificent site, you must know the best Niagara Falls photography spots, have the right photography equipment with you, and be prepared to overcome the difficulties of photographing such a challenging landscape.
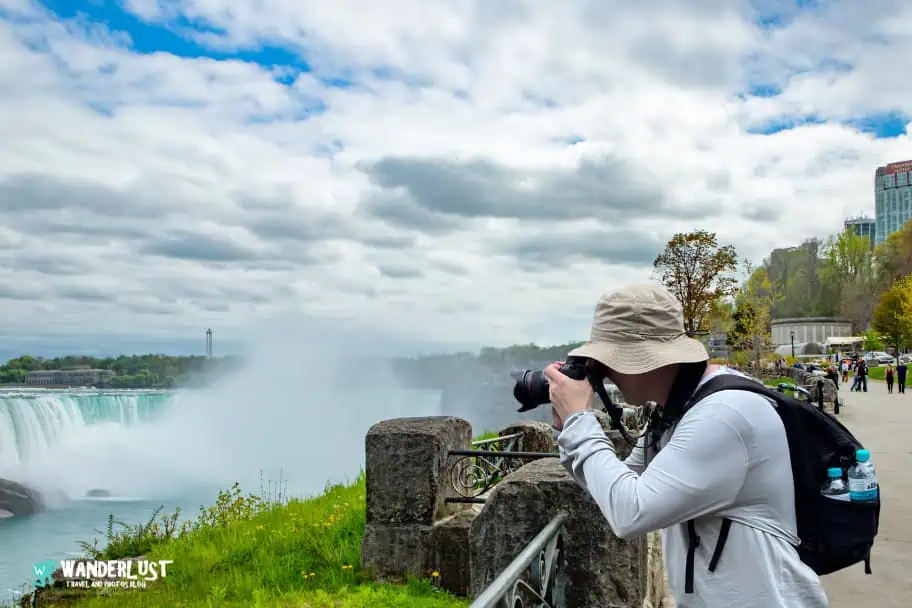
When it comes to taking great photographs of Niagara Falls, preparation is key. Understanding the dynamics of light and water can significantly improve your shots. It’s also critical to have the right tools for photographing Niagara Falls. By equipping yourself with the right photography gear and techniques, you can create stunning images that truly reflect the awe-inspiring beauty of Niagara Falls.

Navigation Menu


The Best Niagara Falls Photo Spots
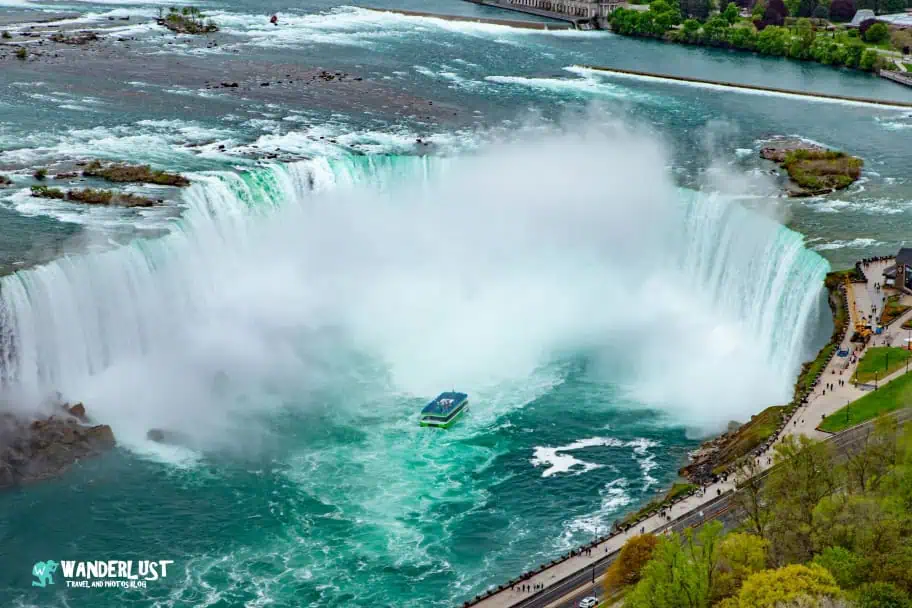
Niagara Falls is a stunning natural wonder that attracts millions of visitors each year, many of whom are looking to photograph this iconic landmark. The renowned waterfalls, with their thundering cascades and breathtaking vistas, offer a myriad of opportunities to capture stunning images. While it is difficult to visit this beautiful place and not leave with amazing pictures, you are even more assured of capturing breathtaking images if you know the top photo spots to visit.
| READ MORE: |
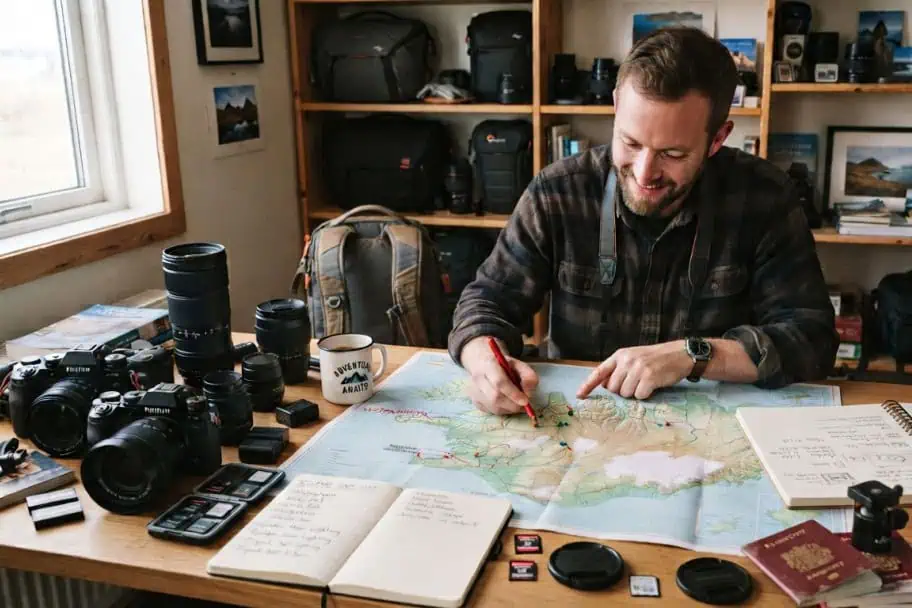 |
| Planning Your Travel Photos |
One of the most popular spots is the observation deck at Prospect Point, where visitors can enjoy a panoramic view of the American Falls and the Horseshoe Falls. The vantage point allows for dramatic shots, especially during sunrise or sunset when the light casts a golden hue over the water, creating a magical atmosphere. Another remarkable location for photography is the observation deck at the Skylon Tower.
Standing at 775 feet, this tower provides a panoramic view of the entire Niagara Falls area, including the American Falls and the Horseshoe Falls. From this height, photographers can capture sweeping landscapes that showcase the falls in their entirety, framed by the lush greenery of the surrounding parks. To assist you in finding all of the top Niagara Falls photography spots for your visit, I have included a map for you to review below.


Photo Tips for Niagara Falls

With crowds of people, unpredictable lighting conditions, and immense clouds of mist from the falls, capturing the breathtaking beauty of Niagara Falls can be a challenge. However, by utilizing some time-tested photography tips and techniques, you can create stunning photographs that truly capture the essence of this iconic natural wonder. In this section of my Niagara Falls photography guide, I outline some of the top tips you can use during your visit.
Use a Full Frame Camera and Wide-Angle Lens

The first Niagara Falls photography tip is to bring a full‑frame camera and a wide‑angle lens. The falls are massive, and a full‑frame sensor captures better detail, low‑light performance, and dynamic range—important when shooting bright water against darker surroundings. A wide‑angle lens lets you fit more of the scene into one frame, helping convey the scale and power of the falls.
While not required, using a full‑frame camera with a wide‑angle lens will noticeably improve your images and your overall shooting experience at one of the world’s most iconic natural landmarks.
Take Advantage of the Golden Hours

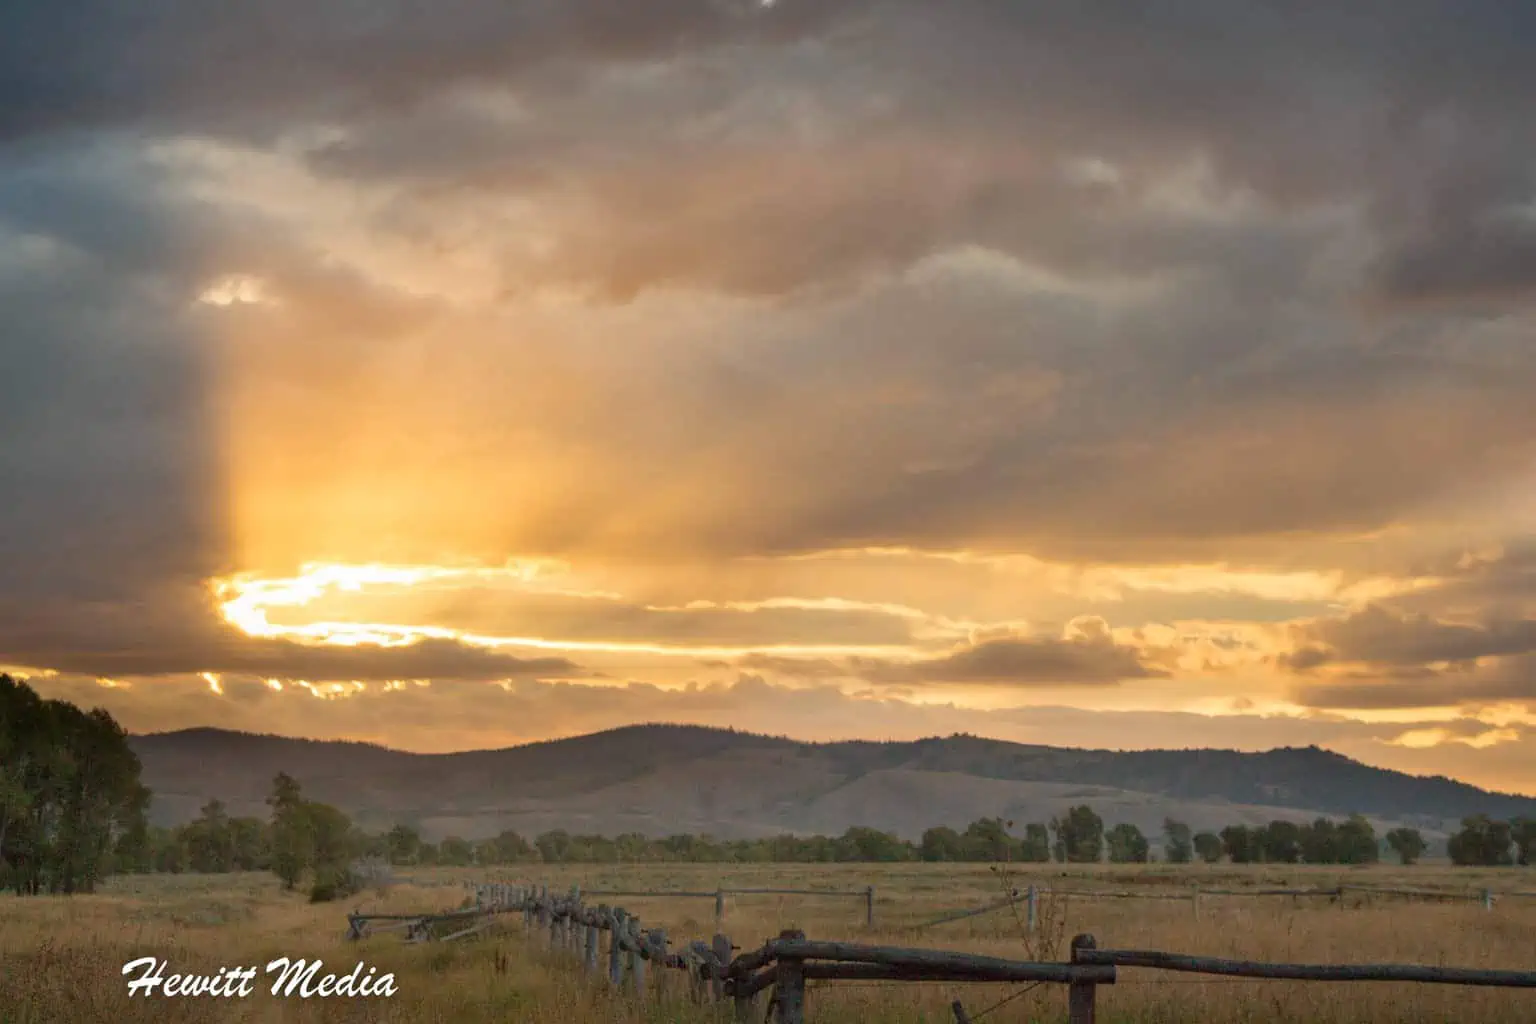
Capturing the beauty of Niagara Falls is an experience that can be significantly enhanced by timing your visit to coincide with the golden hours. These magical moments occur shortly after sunrise and just before sunset, when the sun casts a warm, golden hue over the landscape. During these times, the light is softer and more diffused, creating a stunning contrast against the powerful rush of the water.
This natural illumination not only enhances the colors of the falls but also adds depth and dimension to your photographs. In addition, the early morning and late evening hours bring a sense of tranquility, as the crowds are typically smaller, allowing for a more intimate experience with the falls. Meanwhile, the mist rising from the water catches the light beautifully, creating ethereal rainbows that can add a magical touch to your images.
Use a Polarizing Filter

A polarizing filter will make your Niagara Falls photos more vibrant and dramatic. It reduces glare and reflections on the water, deepens the greens and blues in the scene, and boosts contrast so details in both highlights and shadows stand out.
It also cuts some of the incoming light, allowing slightly longer exposures—useful for creating that smooth, silky water effect. Using a polarizing filter isn’t required, but it’s one of the easiest ways to elevate your images at the falls.
Photograph the Falls from Above

Photographing Niagara Falls from above offers a unique perspective that captures the grandeur and scale of this natural wonder in a way that ground-level shots simply cannot. From an elevated vantage point, you can appreciate the full expanse of the falls, including the breathtaking cascades and the surrounding landscape.
There are several different ways in which you can get aerial photographs of the falls, both on the Canadian and the American side of the falls. While the Observation Tower on the American side and the Whirlpool Aero Car and Niagara SkyWheel on the Canadian side offer views of the falls from above, the best views can be found at the top of the Skylon Tower on the Canadian side.
Be Creative with Your Photo Compositions

While having the right photography gear and understanding the tricks to enhancing your photographs are important, they aren’t the only ways you can get the most out of your Niagara Falls photography. In fact, one of the most important things you can do to enhance your photographs of the falls is within you. Being creative with how you compose your photos can do more to enhance the quality of your pictures than anything else.
By experimenting with different angles, perspectives, and framing techniques, photographers can highlight unique aspects of the falls that might otherwise go unnoticed. For instance, shooting from a lower vantage point can emphasize the sheer height and power of the cascading water, while incorporating foreground elements like rocks or foliage can add depth and context to the image. This allows you to tell a story through your photographs, which makes your photos more authentic and appealing.
Bring a GoPro to Photograph the Falls Up Close

One of the things that people most commonly overlook when preparing to visit Niagara Falls is how to document their experiences when close to the falls. The mist from the falls can be intense, and traditional cameras may not withstand the moisture. For this reason, A GoPro or waterproof camera is particularly valuable in this setting, as it allows you to document your adventure without the fear of damaging your equipment.
Beyond just protection from water, a GoPro offers versatility that enhances your photography experience at Niagara Falls. These compact cameras are designed for action, making them perfect for capturing dynamic moments. With features like wide-angle lenses and high-definition video capabilities, you can create immersive content that transports viewers right to the heart of the action.
Incorporate Leading Lines to Enhance Your Photos

Using leading lines is one of the simplest ways to create stronger Niagara Falls photos. Leading lines guide the viewer’s eye toward your subject, and at the falls, they help direct attention straight to the rushing water. Pathways, railings, rock contours, and riverbank curves all make great natural lines that add depth and perspective.
They also help establish a clear foreground, giving your image scale and context. By positioning yourself so these elements point toward the falls, you’ll create more dynamic, flowing compositions that mirror the movement of the water. Mastering leading lines is an easy way to elevate your Niagara Falls shots.
Use the Rule of Thirds When Composing Photos

Using the rule of thirds is an easy way to create stronger photos at Niagara Falls. By dividing your frame into a nine‑part grid and placing key elements along the lines or intersections, you’ll get a more balanced, engaging composition.
At the falls, this works especially well: positioning the water off‑center lets you include more sky, greenery, and surrounding landscape, giving viewers a fuller sense of the scene. Applying the rule of thirds encourages people to explore the entire frame rather than focusing on just one point, making your images feel more dynamic and complete.
Recommended Photography Gear

This Niagara Falls photography guide references products on my Amazon Store site. I may receive a commission when you purchase these products from my store, though at no additional cost to you. I hand-pick and recommend only products with which I am familiar or comfortable recommending.
When preparing for a trip to photograph Niagara Falls, it is important to verify that you bring the correct gear. While the falls are extremely beautiful, they can also pose difficulties when photographing them. Variations in lighting, the powerful mist from the falls, and bright sunlight are all challenges you must address. Having the correct gear on hand can be beneficial. To ensure you pack the necessary items, I have compiled a list of my recommended photography gear in my Niagara Falls photography guide below.
DSLR or Mirrorless Camera
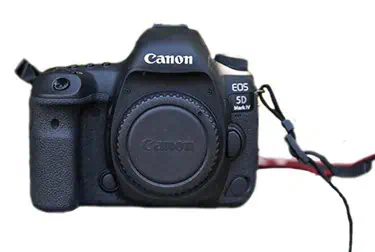 |
Niagara Falls is one of North America’s most incredible landmarks. When visiting, there is a wealth of incredible things to see. In fact, for many travelers, this is a bucket list destination. When you visit, you will definitely want to ensure that you capture these memories. For this reason, I advise you to take a DSLR or mirrorless camera with you when you come. |
| View Recommendations on Amazon.com | |
Camera Backpack
 |
While trekking around the falls, it is essential to ensure that your camera equipment is both protected and organized. A quality camera backpack can assist you in achieving this. Unlike standard backpacks, these specialized packs feature compartments specifically designed to keep your camera and other equipment safe and secure. Furthermore, they are arranged in a manner that allows for easy access to your camera when necessary. For suggestions on excellent travel camera backpacks, please refer to the link provided below. |
| View Recommendations on Amazon.com | |
Wide Angle Lens
 |
While Niagara Falls is an incredible landscape, it can be difficult to capture in its entirety if you don’t have the proper gear. This is where a good wide angle lens can be useful. The beauty of wide angle lenses is that they allow you to capture more of the landscape in your shot. This is especially important if your camera has a crop sensor, which automatically crops the photos you take. |
| View Recommendations on Amazon.com | |
GoPro Camera
 |
Alongside your DSLR or mirrorless camera, bringing a waterproof camera and video recorder, like a GoPro, will prove beneficial when visiting Niagara Falls. Should you decide to take a boat tour to the falls, you will appreciate having a waterproof camera on hand. Even if you opt not to ride the boat, you are likely to get quite wet on certain walkways close to the falls. Therefore, having a camera that is resistant to damage will be crucial. |
| View Recommendations on Amazon.com | |
Polarizing Filters
 |
When taking photographs at Niagara Falls, one of the primary difficulties you may encounter is harsh sunlight. This can cause the skies in your pictures to appear washed out and create an annoying glare from water and other reflective surfaces. One of the most effective ways to address this issue is by using polarizing filters. These filters will help keep the skies in your photos a vibrant blue (rather than a dull white) and will reduce the bothersome glare. I recommend that you bring one for each lens you plan to take. |
| View Recommendations on Amazon.com | |
Lens Hoods
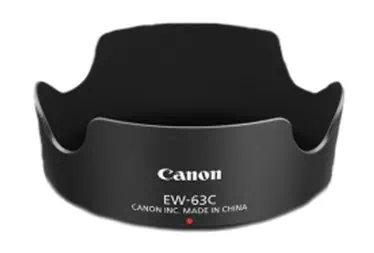 |
An additional accessory that can assist you in managing intense sunlight is a quality lens hood. By protecting the lens from direct sunlight, lens hoods act as the primary defense for photographers capturing images in bright locations. It is advisable to have a lens hood for every lens you take to Niagara Falls. |
| View Recommendations on Amazon.com | |
Camera Rain Protector
 |
One thing you can count on when you visit a large waterfall, and that is you are likely to get wet. The powerful mist generated by the falls can make Niagara Falls a particularly wet place. Therefore, I suggest that you pack a rain cover for your camera when you visit. You can easily place this cover on your camera while exploring the walkways close to the falls to ensure your camera remains safe and dry. |
| View Recommendations on Amazon.com | |
Dry Bag
 |
A different approach to keeping your camera gear dry involves bringing along a dry bag. These bags are particularly useful for protecting your equipment from splashes or rain when they are not in use. Their easy-to-carry nature ensures that your phone, extra batteries, lenses, and other valuable electronics are secure, granting you peace of mind. |
| View Recommendations on Amazon.com | |
Extra Batteries
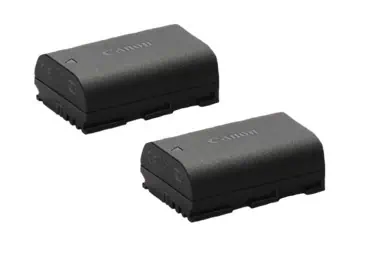 |
I am willing to bet that you are going to want to take a ton of pictures when you visit Niagara Falls. In fact, you may be so busy pressing that shutter button that you run yourself right out of battery power. If you don’t want to be left with regrets that you weren’t able to take pictures that you want, make sure you have enought spare camera batteries with you when you visit. It is better to have a few spares that you don’t end up using than running out of battery power, but not having any backups. |
| View Recommendations on Amazon.com | |
High Capacity SD Card(s)
 |
Similar to your battery life, you will not want to exhaust the storage on your camera’s memory card during your visit to Niagara Falls. There are so many incredible things that you will see and failing to capture a moment can leave you with regret. Make sure this doesn’t happen to you by packing a high capacity memory card or cards for your trip. For some good recommendations, please see my link below. |
| View Recommendations on Amazon.com | |
Waterproof Phone Protector
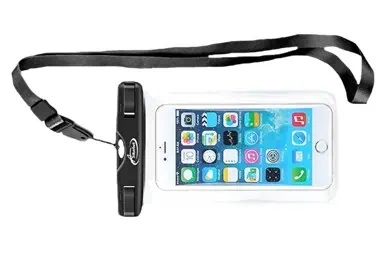 |
For those who plan to use their phone to take pictures at Niagara Falls, you will need to be sure to protect it. As I mentioned before, there is the potential to get quite wet from the spray of the waterfalls. Not taking steps to protect your phone could result in the phone becoming damaged or destroyed. This good idea becomes essential when you take the boat ride up to the falls. The fact that they hand out ponchos when you board should tell you all you need to know about how wet you get on the boat tours. If you don’t protect your phone from the water, it might become a costly mistake. If you are looking to purchase a phone protector for your trip, I have linked to some of my recommendations below. |
| View Recommendations on Amazon.com | |
Travel Tripod
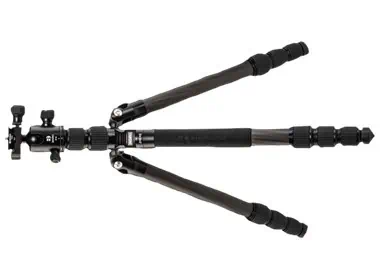 |
The final piece of photography equipment I recommend you take to Niagara Falls is a quality travel tripod. Should you intend to capture long exposure images of the falls, which produce the smooth water effect you may have seen, a tripod is essential. Travel tripods offer the benefit of being compact and lightweight. An excellent travel tripod will not only be easy to transport but also robust and practical. If you are interested, I have provided some recommendations below. |
| View Recommendations on Amazon.com | |
Don’t Forget to Subscribe to My Adventures!

Let Me Help You Save On Your Next Adventure!
‘Start Exploring Today’ Merchandise Available Now!
 |
 |
 |
 |
 |
 |
 |


















Leave a Reply